
Emperor’s Shield Infantry Platoon – A Short Review
I fielded the Emperor's Shield Infantry Platoon for the first time - here is how it went....
This is a little review of the Emperor’s Shield Infantry Platoon based on my last game which was 2,000 points a side Astra Militarum & Tau Vs Dark Angels. The Dark Angels, oddly, had some Harlequins too on their side, despite my protests saying that they would not be worth while. This was a fun, casual game – lore was out the window.
Emperor’s Shield Infantry Platoon
Firstly lets visit this glorious concoction of the Emperor’s. The Emperor’s Shield Infantry Platoon formation consists of;
- An Infantry Platoon with a Platoon Command Squad (of course) and 5 Infantry Squads
- 1-3 Units of Armoured or Scout Sentinels
- Infantry Platoon units cannot take Dedicated Transports
This gives at a minimum 55 Guardsmen and 1 Sentinel to field as part of the formation. Of course there are the options to expand the Sentinel Squadrons, add in Special Weapons Teams, Conscripts and Heavy Weapons Teams too to bolster the Platoon up.
The formation gives the rules Forward Recon and Marching Drill.
For me this formation was all about movement. There is now a running joke in our group that I never move forward. That I don’t leave my own table half. I was hoping that this formation would change that as it’s special rules mean you are moving. And in 40K movement is the name of the game it seems.
Forward Recon
This allows Platoon units within 9″ of any Sentinel to Move Through Cover – rolling 3D6 and picking the highest to move.
A nice buff to get through terrain and up into the table without getting stuck with 1″ difficult terrain moves each turn.
Marching Drill
This allows a new order called Fire and Advance which the Platoon Command Squad can issue to any of it’s Platoon Units. The order allows the unit to fire as if it was stationary, even it moved in the proceeding movement phase.
This order I wasted somewhat as I hadn’t brought any Heavy Weapons in with my Platoon’s blob. Although seen as I did bring standalone Heavy Weapons Teams that were also technically part of this Platoon I could’ve used this order on those guys. Hmmm. Missed that one.
So I’ve learnt something already. My Heavy Weapons Teams that I just stuck at the back could’ve been moving and firing if need be.
The Mission
We played Kill Points only, plus Slay the Warlord, Line Breaker and First Blood. Glad I blobbed up now before the game!

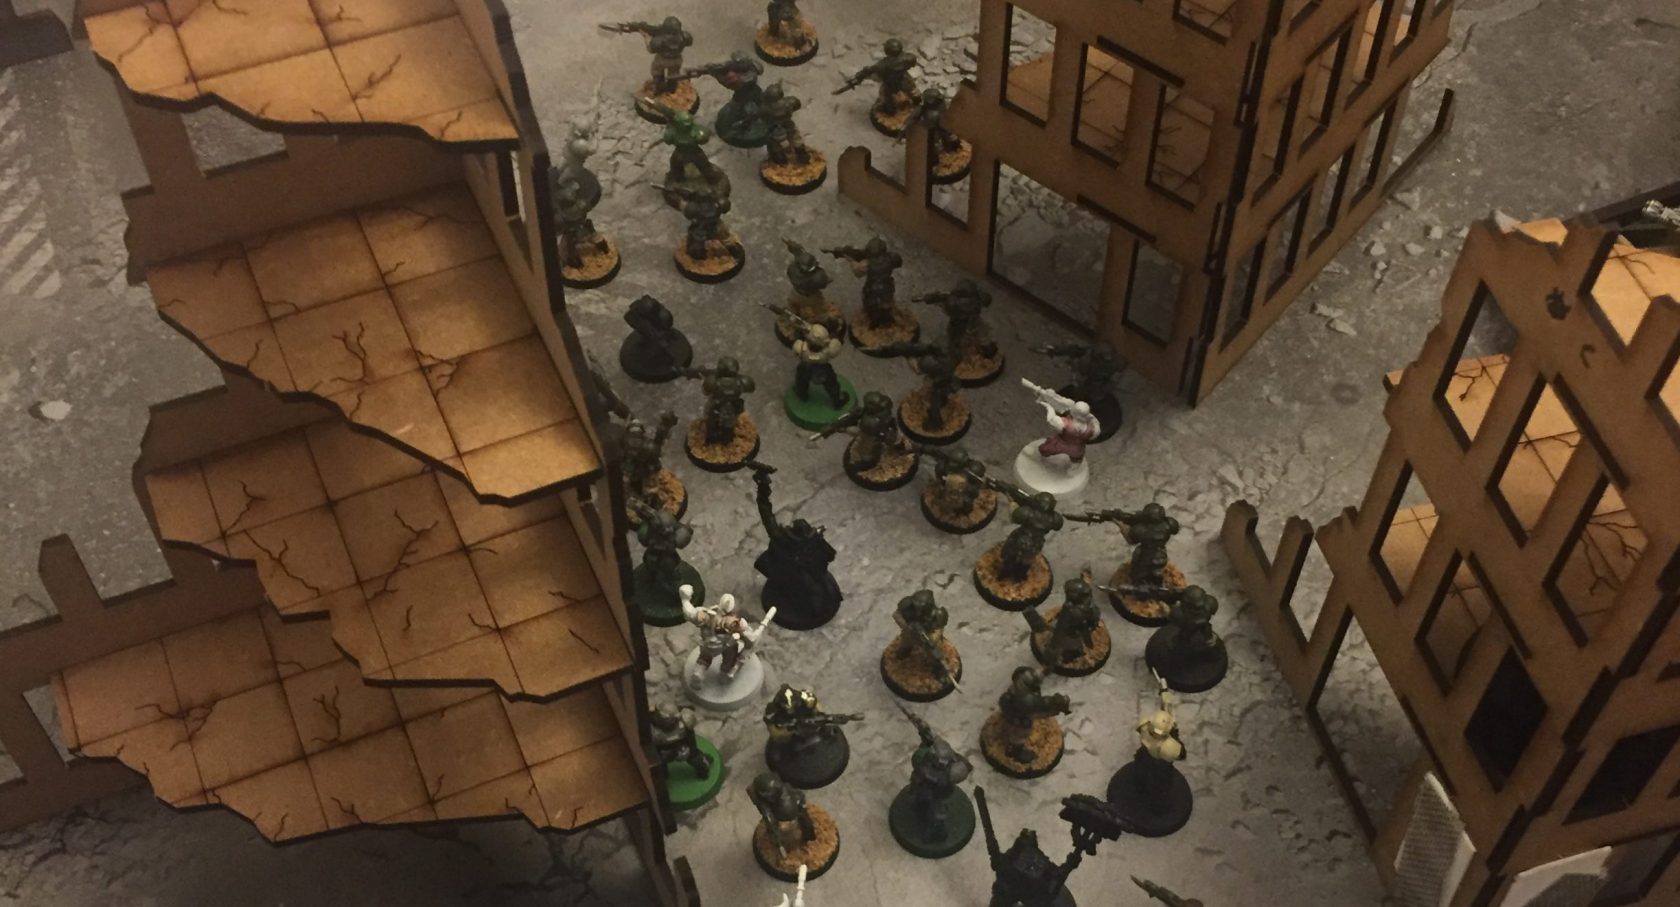
Emperor’s Shield Infantry Platoon blob with Heavy Weapons to the right and back up Armoured Sentinel
Place Ya Bets
Given what you know so far from the article, post a comment declaring who you think won this match up.
Don’t scroll down and read.
Just zip down quickly to the bottom of the page and comment.
Dare you!
Forces
Astra Militarum – 1,000 points
- Emperor’s Shield Infantry Platoon all blobbed into a 50 man group 3x Autocannons and 3x Heavy Bolters as separate Heavy Weapons Teams
- Single Heavy Flamer Armoured Sentinel as part of the formation
- The Platoon blob and Platoon Command Squad took a single Vox Caster each
- All but one Sergeant in the blob took a Power Axe – didn’t have the points for everyone
- Preist joins the blob
- ML2 Pysker joins the blob
- 2x Veterans with 3x Flamers, Camo Cloaks in a Chimeras to form a CAD
- 1x Company Command Squad with Volkov’s Cane to complete the CAD
Tau – 1,000 points
- 2x Broadsides with Twin Linked HYMP and Twin Linked Plasma Guns
- 2x Broadside with Twin Linked Heavy Rail Rifle
- 2x Squads of 4 Pathfinders
- 2x Squads of 7 Firewarriors
- A Cadre Fireblade
- Buff-mander with 4 Bodyguards with Missile Pods and Twin Linked Burst Cannons
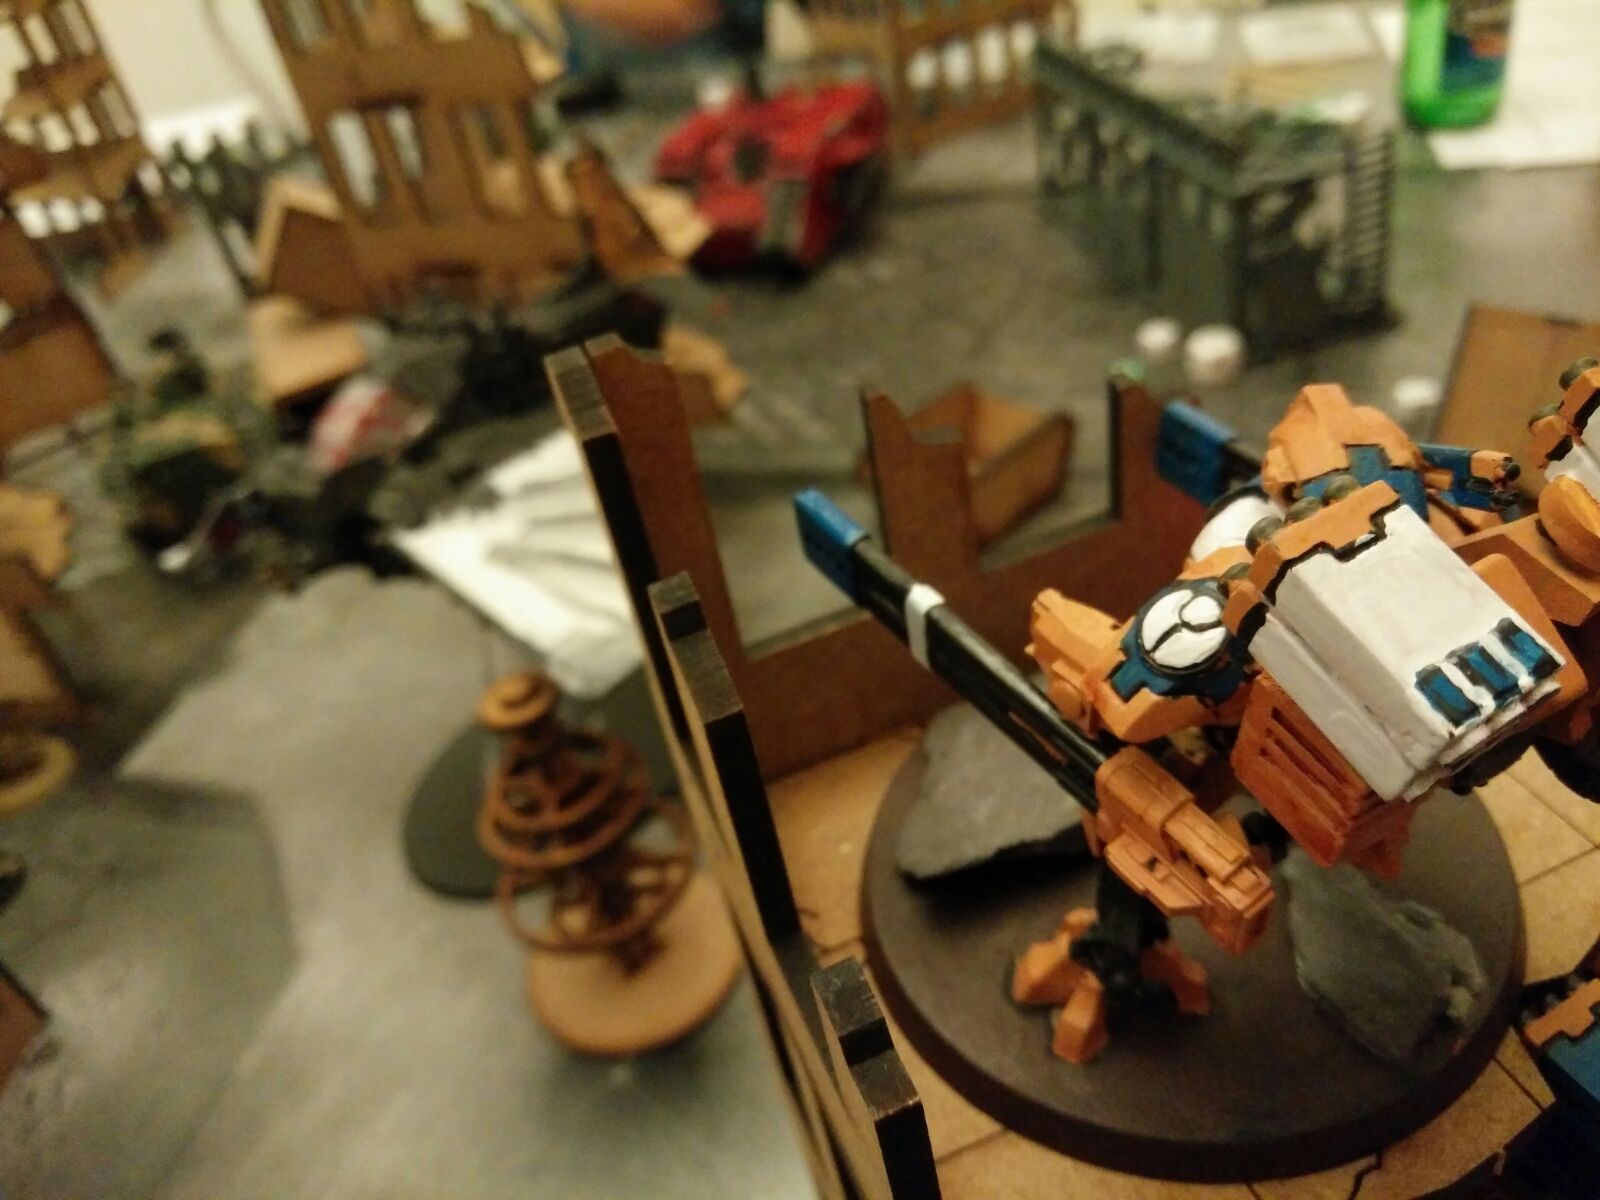
Tau Broadsides survey the battlefield from up high
Dark Angels – 2,000 points
I don’t remember this very well but it did have two troop looking things of Harlequins and two Death Jesters. Also these…
- A Ravenwing Dark Talon Flyer
- 3 different groups of bikes
- 3 ML1 Librarians
- Land Raider with Terminators
- Some Terminator Knight things that Deep Strike’d
- A Tac Squad
- A Tac Squad in a Rhino
I thought the Harlequins were a mistake. Hard to use glass cannons. But it’s a casual game so meh.

The Ravenwing Dark Talon swoops into the Buff-mander
The Outcome
For those that commented and who are left wondering, the Tau and Guard smashed it. It’s the first game I’ve won in a while but in hind sight this was one sided – by accident. Its just a shame I needed Tau help!
The enemy destroyed two of our units while we were on about nine units by turn four I believe. The punishment we put out was relentless and sustained. Each shooting phase we were the rolling buckets of dice while the Dark Angels were plinking away with a few shots at time so it seemed.
The first turn sums up the game pretty well. We took first turn and they did not Seize, we; stunned the Land Raider and wiped out two bike squads. I used the Move! Move! Move! order to kill the bikes and then move further up the board with my blob. That was two VPs in turn one and two of the fastest and effective Dark Angels units destroyed. Plus the Land Raider lost 6″ of movement putting it embarked Terminators further away from assaulting.
Using Misfortune on enemy units when shooting a blob is awfully effective. It makes all shots into an enemy unit Rending. So with 50 shots you’ve got 4 Rending AP2 hits on average – I often had more than 50 shots too. So yeah, that was devastating.
The Veterans race toward the table centre
Emperor’s Shield Infantry Platoon Summary
I missed a trick it seems with moving up my Heavy Weapons Teams. Although they often have good range and line of sight from where they are deployed so I don’t feel it was a massive oversight. But it’s good to know that they too could be ordered to move and shoot at full Ballistic Skill using Fire and Advance.
The Move Through Cover was great! Moving 5″ or 6″ a turn plus ordering them to run and shoot meant a reached my opponent’s table half! A rare event for me! But it also meant I was more often in Rapid Fire range and that Misfortune was disgustingly brutal. Oh I also often had Prescience on my squad. That gives me 6.4 dead Space Marines per turn with 50 shots on average. And with 80 shots, which is what I was frequently getting, that’s 10.3 dead Space Marines per las-volley.
I’d definitely take this Astra Militarum Formation again. It’s forced me to move up and at the enemy rather than sitting back and castling up. I didn’t lose a single Guardsmen from the blob and they never entered the assault either. They were largely ignored. Perhaps their Toughness of 3 and Strength 3 shots with AP dash were overlooked – especially when four Broadsides are on the other side of the board.
A pity those Power Axes were never swung in anger. Perhaps next time.
Overall a quality little formation and mine came in at 530 points for this game which is a fair old chunk of my force. Worth it though I felt. Even if this was a 2,000 point game of only Astra Militarum and the Broadsides were all Leman Russ I would like to hope that the game would’ve played out in a similar fashion.