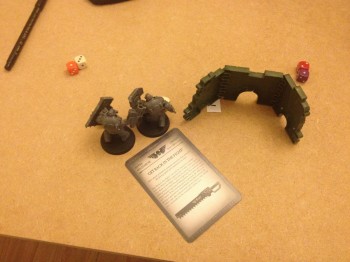
Bullgryn Tactics Follow Up
Note: I have a new article about Bullgryns and Ogryns Formations and Tactics!
I’ll firstly state I’m still a new player, so I have no authority on this matter nor deep insight. This will become clearer and more apparent as the article goes on and on and on. Please feel free to leave now and wash your hair or build a Bullgryn. If you continue, the Imperium of Man thanks you and sends you a thousand blessings for you and your home world.
I wrote an article a few months ago on Bullgryns, this covered my thoughts on their potential uses within my Imperial Guard army. Those tactics were simple and didn’t use any allies to further buff the Bullgryns. I didn’t even knowingly use any Guard units to buff them. Although in one game my Regimental Standard allowed them to re-roll their failed leadership test, they failed the re-roll too. This was purely accidental that they within the effective range of the standard bearer.
And there lies the problem with the humble Bullgryn – they’re just not very good in the grand universe of 40k. My initial reaction, as I’m sure is apparent in my first article, was that these beasts were fantastic. Their default configuration allowed me to have a moving defence line. One that’d let me push up the board with my Veterans and get them into objectives with relative ease. Meanwhile the Bullgryns would take incoming fire and improve the cover save of my troops. Their assault stats also out performed any other unit I have in my collection. But for their points they’re are not great. A Bullgryn has very niche uses too. Unlike a Veteran squad for half the cost. Moving up as a defensive line is slow and would only really would work at the end of game when I needed to take and keep an objective for just one turn.
A Bullgryn is misguided, so am I!
I now realise my tactics were some what misguided and poorly executed. No plan survives turn one. In reality this didn’t work because by carrying out those simple tactics my opponent just countered. It also meant that they were countered by his best assaulting unit, Farsight. Farsight didn’t do great against them but he did do good enough to make then fall back off the board.
On other occasions they tied Farsight up for a turn or two. This saved my Basilisks from being sawn in two by Farsight. All this meant that I was playing to my opponents game and not mine. The Bullgryns weren’t there to act as shield. Instead they were tied up in close combat because my opponent made me! So I am unsure still on how to use my Bullgryn models effectively, other than taking the Power Maul configuration and pressing them hard towards the enemy in a Chimera in the hope of assaulting them.
I like to think I PTFO, this has won me games, but I also need to remember that I need to PMOG (Play My Own Game). Because having a plan is superb, even if it doesn’t survive turn one. I need to make sure my opponent’s plan also doesn’t survive turn one, perhaps Power Maul wielding Bullgryns are the way to go to give Farsight a good bashing. I’m convinced if he is left unchecked he will destroy all my heavy support in a few turns. If this happens we’re all doomed to kneel before Ethereals for centuries to come.

