
Airbrush 101 – My First Time with an Airbrush – 40k Blog
Firstly big shout out and thank you to ResinJunkie for his help in sourcing an airbrush, persuading me it was a good idea, educating me on using it and helping me clean it. But even with the best teacher I still managed to break it during my first session. More on that later.
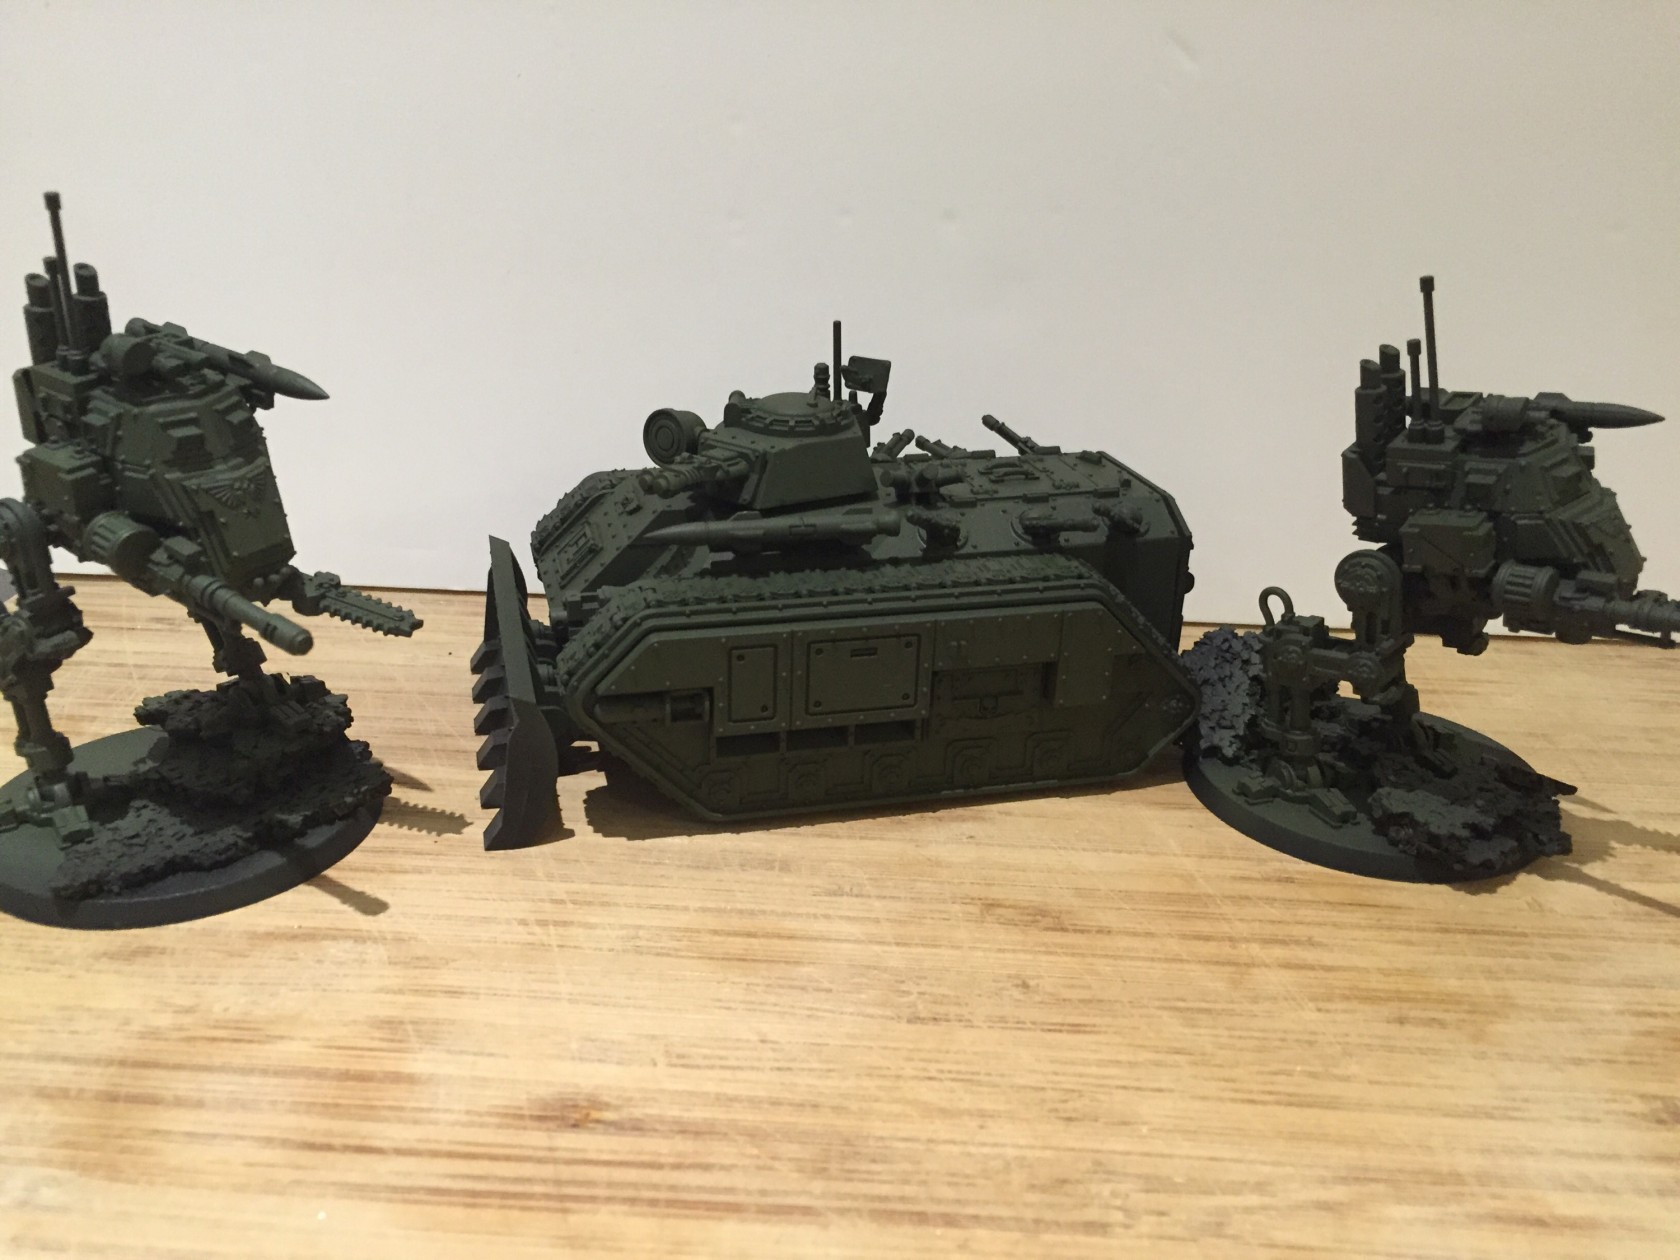
I’ve always wondered about getting an airbrush and like everyone else who has never used one, the thought of using one scared me. They’re expensive, delicate and easy to get wrong. ResinJunkie’s experience sold it to me though, so I jumped in. I’ve also a lot of Imperial Guard vehicles to do and the idea of painting each with a brush was scarier than purchasing and using an airbrush.
I’m a complete newbie to this, as I am sure others are too. So I’m going to cover some of the most basic aspects of the airbrush. Because until you’ve used one its just a thing that fires paint. Apologies to all those pro airbrush users – I’ll be telling you how to suck eggs. Also this will be extremely none technical and written for the layman because this article is aimed at people like myself – those who are on the fence about an airbrush but know nothing about them.
Buying an Airbrush
Myself and ResinJunkie both have the same airbrush and compressor. A cheap and cheerful deal from eBay plus some basics to get us going;
I was rather lucky and got my compressor and airbrush kit while it was offer for £64 including postage instead of £85. This was purely by chance. I was just buying at the right time it seems.
The other pieces didn’t amount to much either and my whole bundle came in at just under £90, all from eBay. I was happy with that price point for my first airbrush. A cheap entry point was good, I might hate it! Of course you can pay several times this for an airbrush but I don’t recommend doing that until you’ve used and cleaned an entry level airbrush.
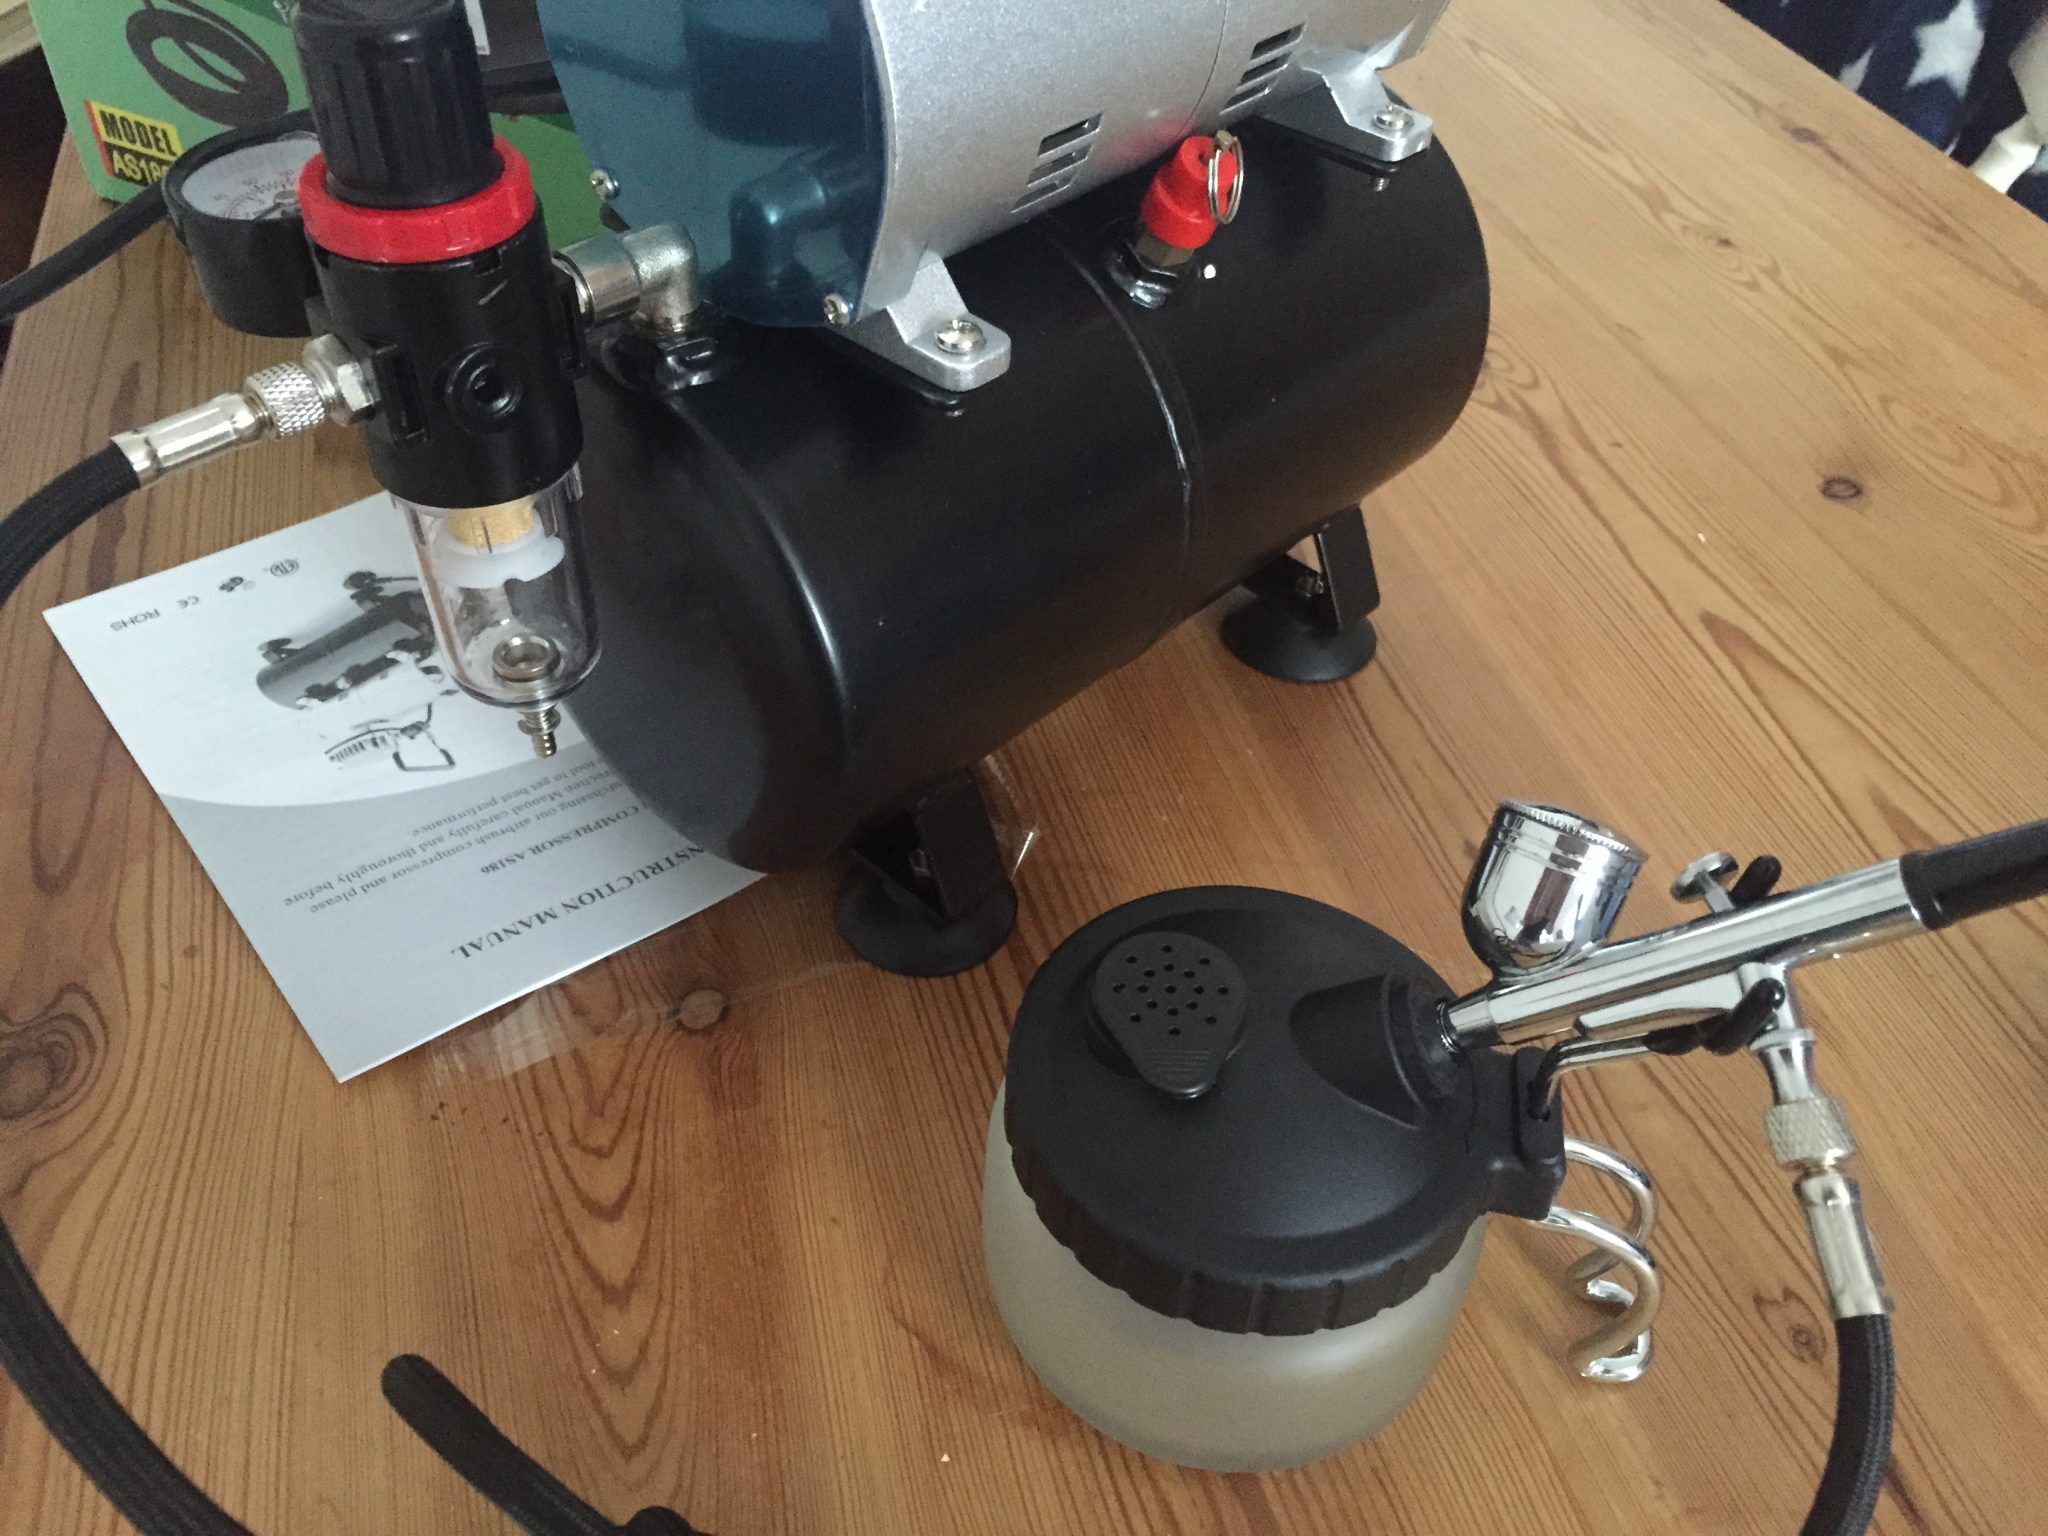
Airbrush & Compressor – Quick set up before the full session
Setting Up
I started out by getting everything out of the box and hooking it all up. That’s fairly self explanatory and easy. Plug the compressor in and screw the airbrush onto the air hose.
As long as it’s clean before use then the set up time is going to be really short, 5 minutes if not less. Not including prepping your models and thinning your paints.
The Compressor
This hulking piece of kit is the main thing you’ll be paying for with entry level airbrushing. The airbrush itself from my kit if bought separately is £12. So the compressor accounts for £52 of my £64 purchase.
Essentially it sucks air and blows it out via the airbrush which contains the paint. The compressor has a tank too, which initially confused me as it causes the compressor to turn off and on. What’s this heresy I thought! It’s got a mind of its own.
Fortunately it wasn’t the work was Tzeentch. The compressor fills the tank to the set pressure and then stops running. It then restarts later after you’ve used the airbrush and released the pressure in the tank. It turns out this is basically what a compressor does, the tank allows the pressure to be regulated because getting a constant pressure directly from the motor is very hard!
There is handy pressure gauge and a knob to to increase or decrease the pressure. I went for 3.5 Bar (50 PSI) as per ResinJunkie’s recommendation. Increasing the pressure involves turning the knob up and then waiting a few seconds for the compressor to increase the pressure. Decreasing the pressure involves lowering the knob and then holding the trigger on the airbrush so the pressure goes down. The compressor will then get the tank back up to the correct pressure once you’ve released enough pressure via the airbrush.
Simples! Or rather that’s my simple understanding of it!
Airbrush Compressor Noise
There have been some questions about the noise of the compressor since I first published this article (3 hours ago). It is fairly quiet, but its not silent. My 2 year old happily sleeps up stairs while its on, so its not like power drill, but its not a very quiet motor like a fan for example.
I can watch a Mini War Gaming battle report while its on if my laptop sound is turned up fairly loud and is close by me. you can mitigate this type of interruption by placing it on a hoodie and also under a table. Its quiet enough that simply stopping it vibrating too much (hoodie) and putting a solid object between you and it (the table) will make it quieter.
Plus as ResinJunkie mentions on Twitter, the compressor is not always on.
Paint Thinning
This I did just by eye. I was using Games Workshop paints and thinning them down rather than the specially pre-thinned airbrush paints. This is because I wanted to stick to the same paints I had been using before. So that meant using Games Workshop paints rather than any others.
I was going for a milk like consistency where the paint drips from the brush after it’s been mixed with the thinner. From memory this was done using 60% paint and 40% thinner. This was using a base layer paint from Games Workshop but other paints might be require a less aggressive ratio.
Usage
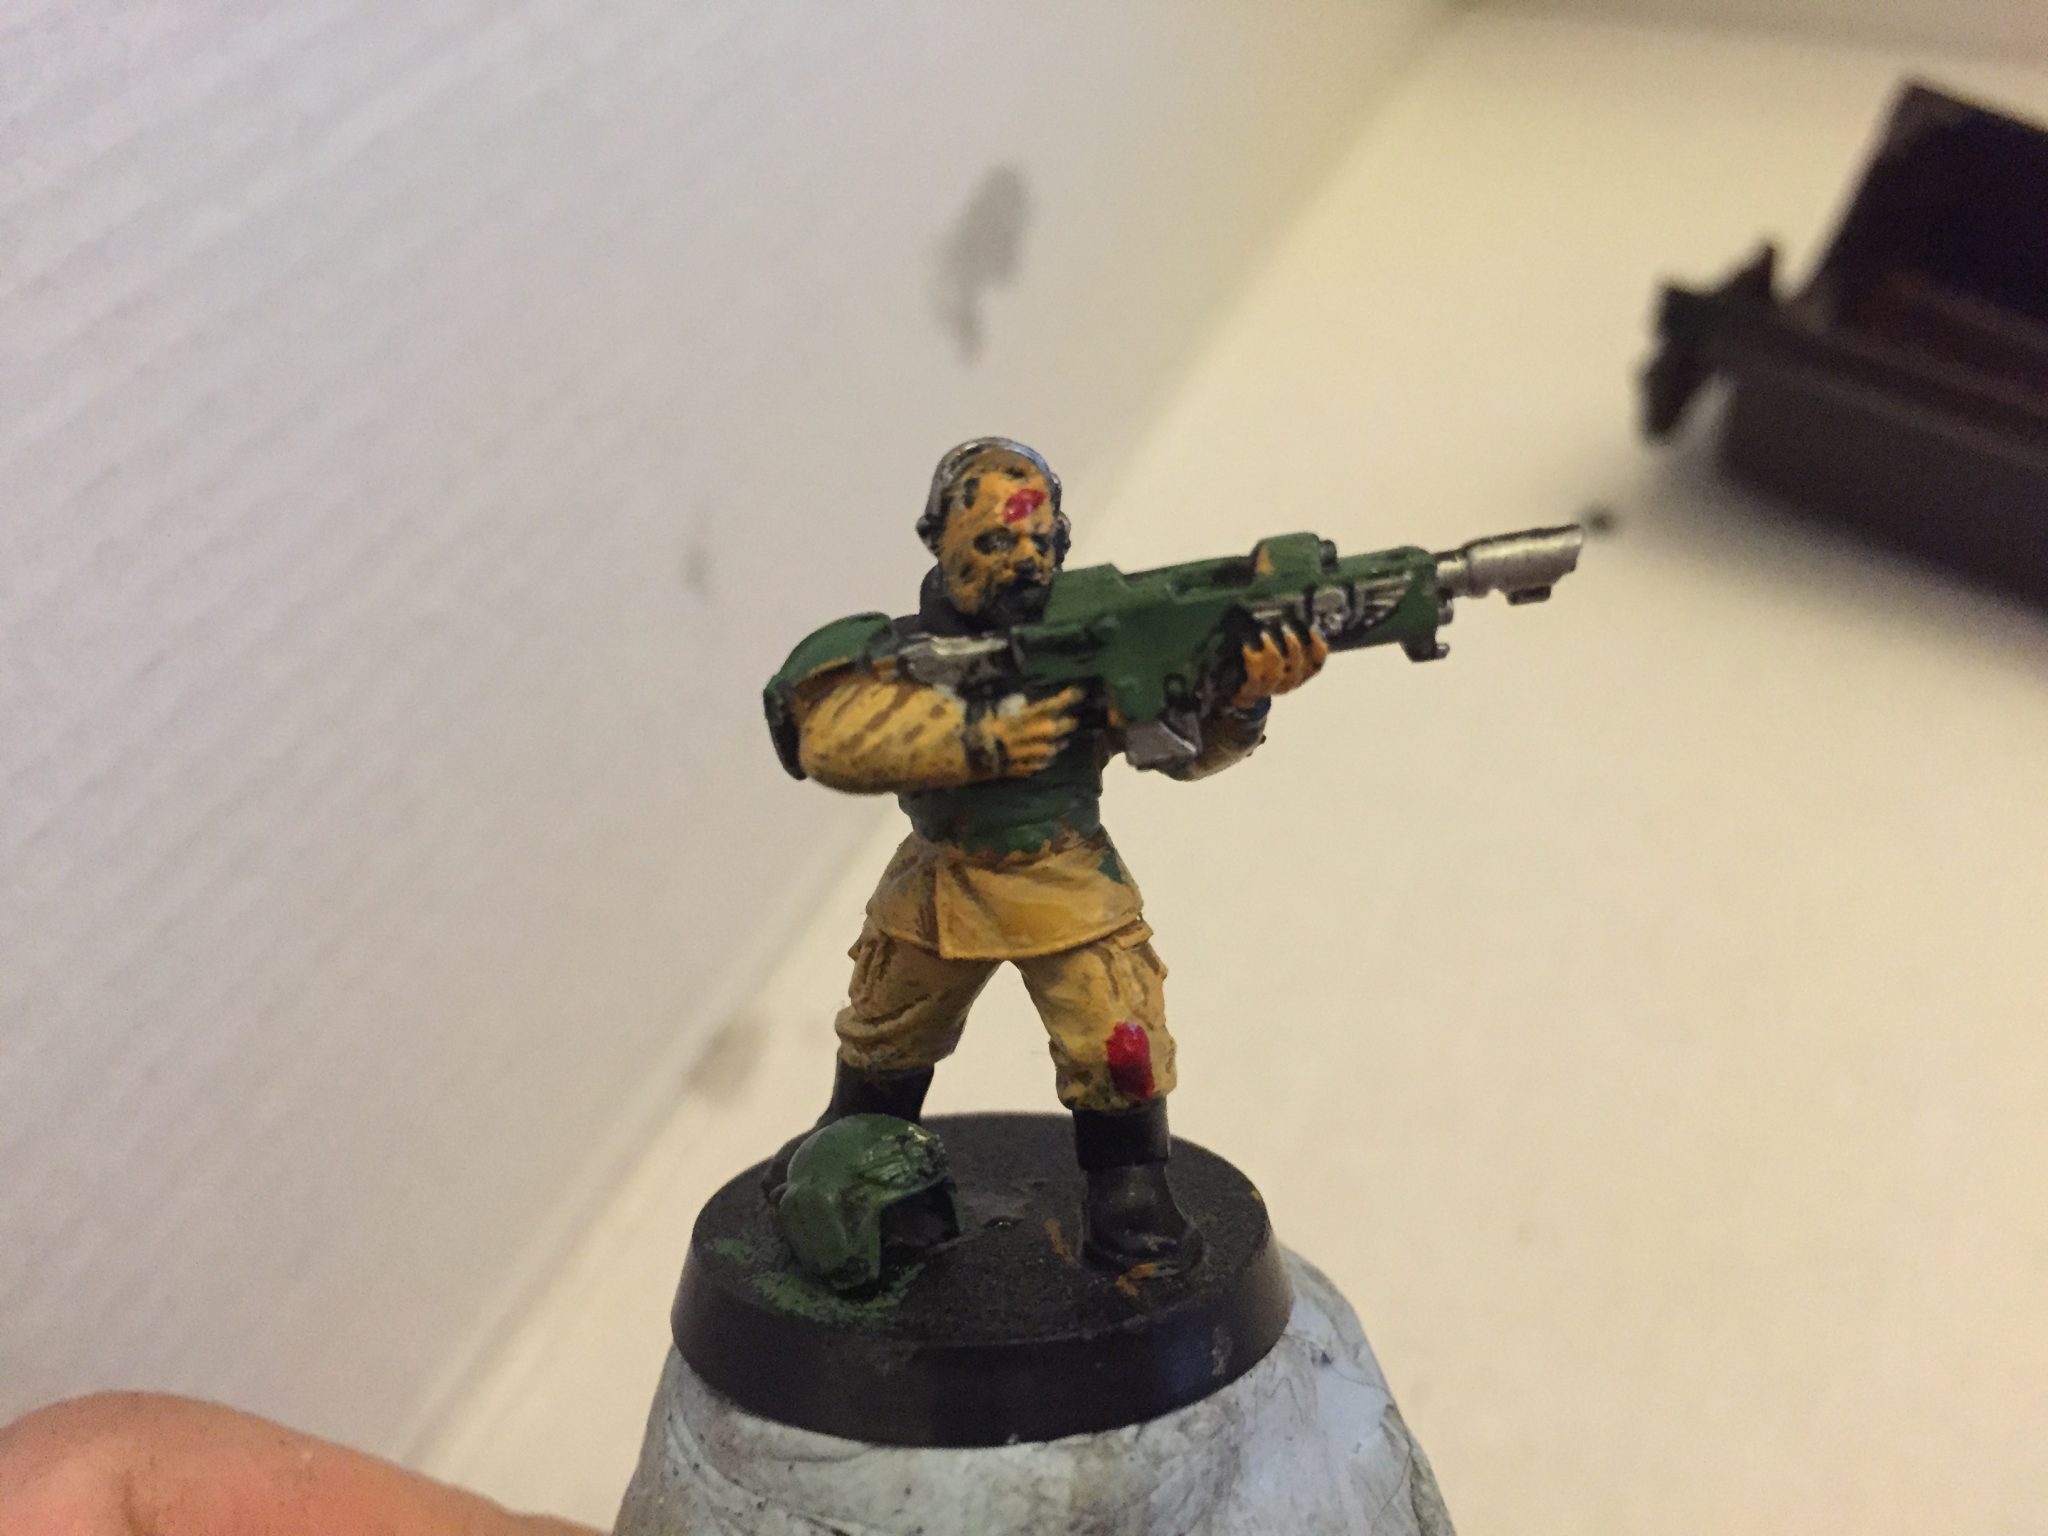
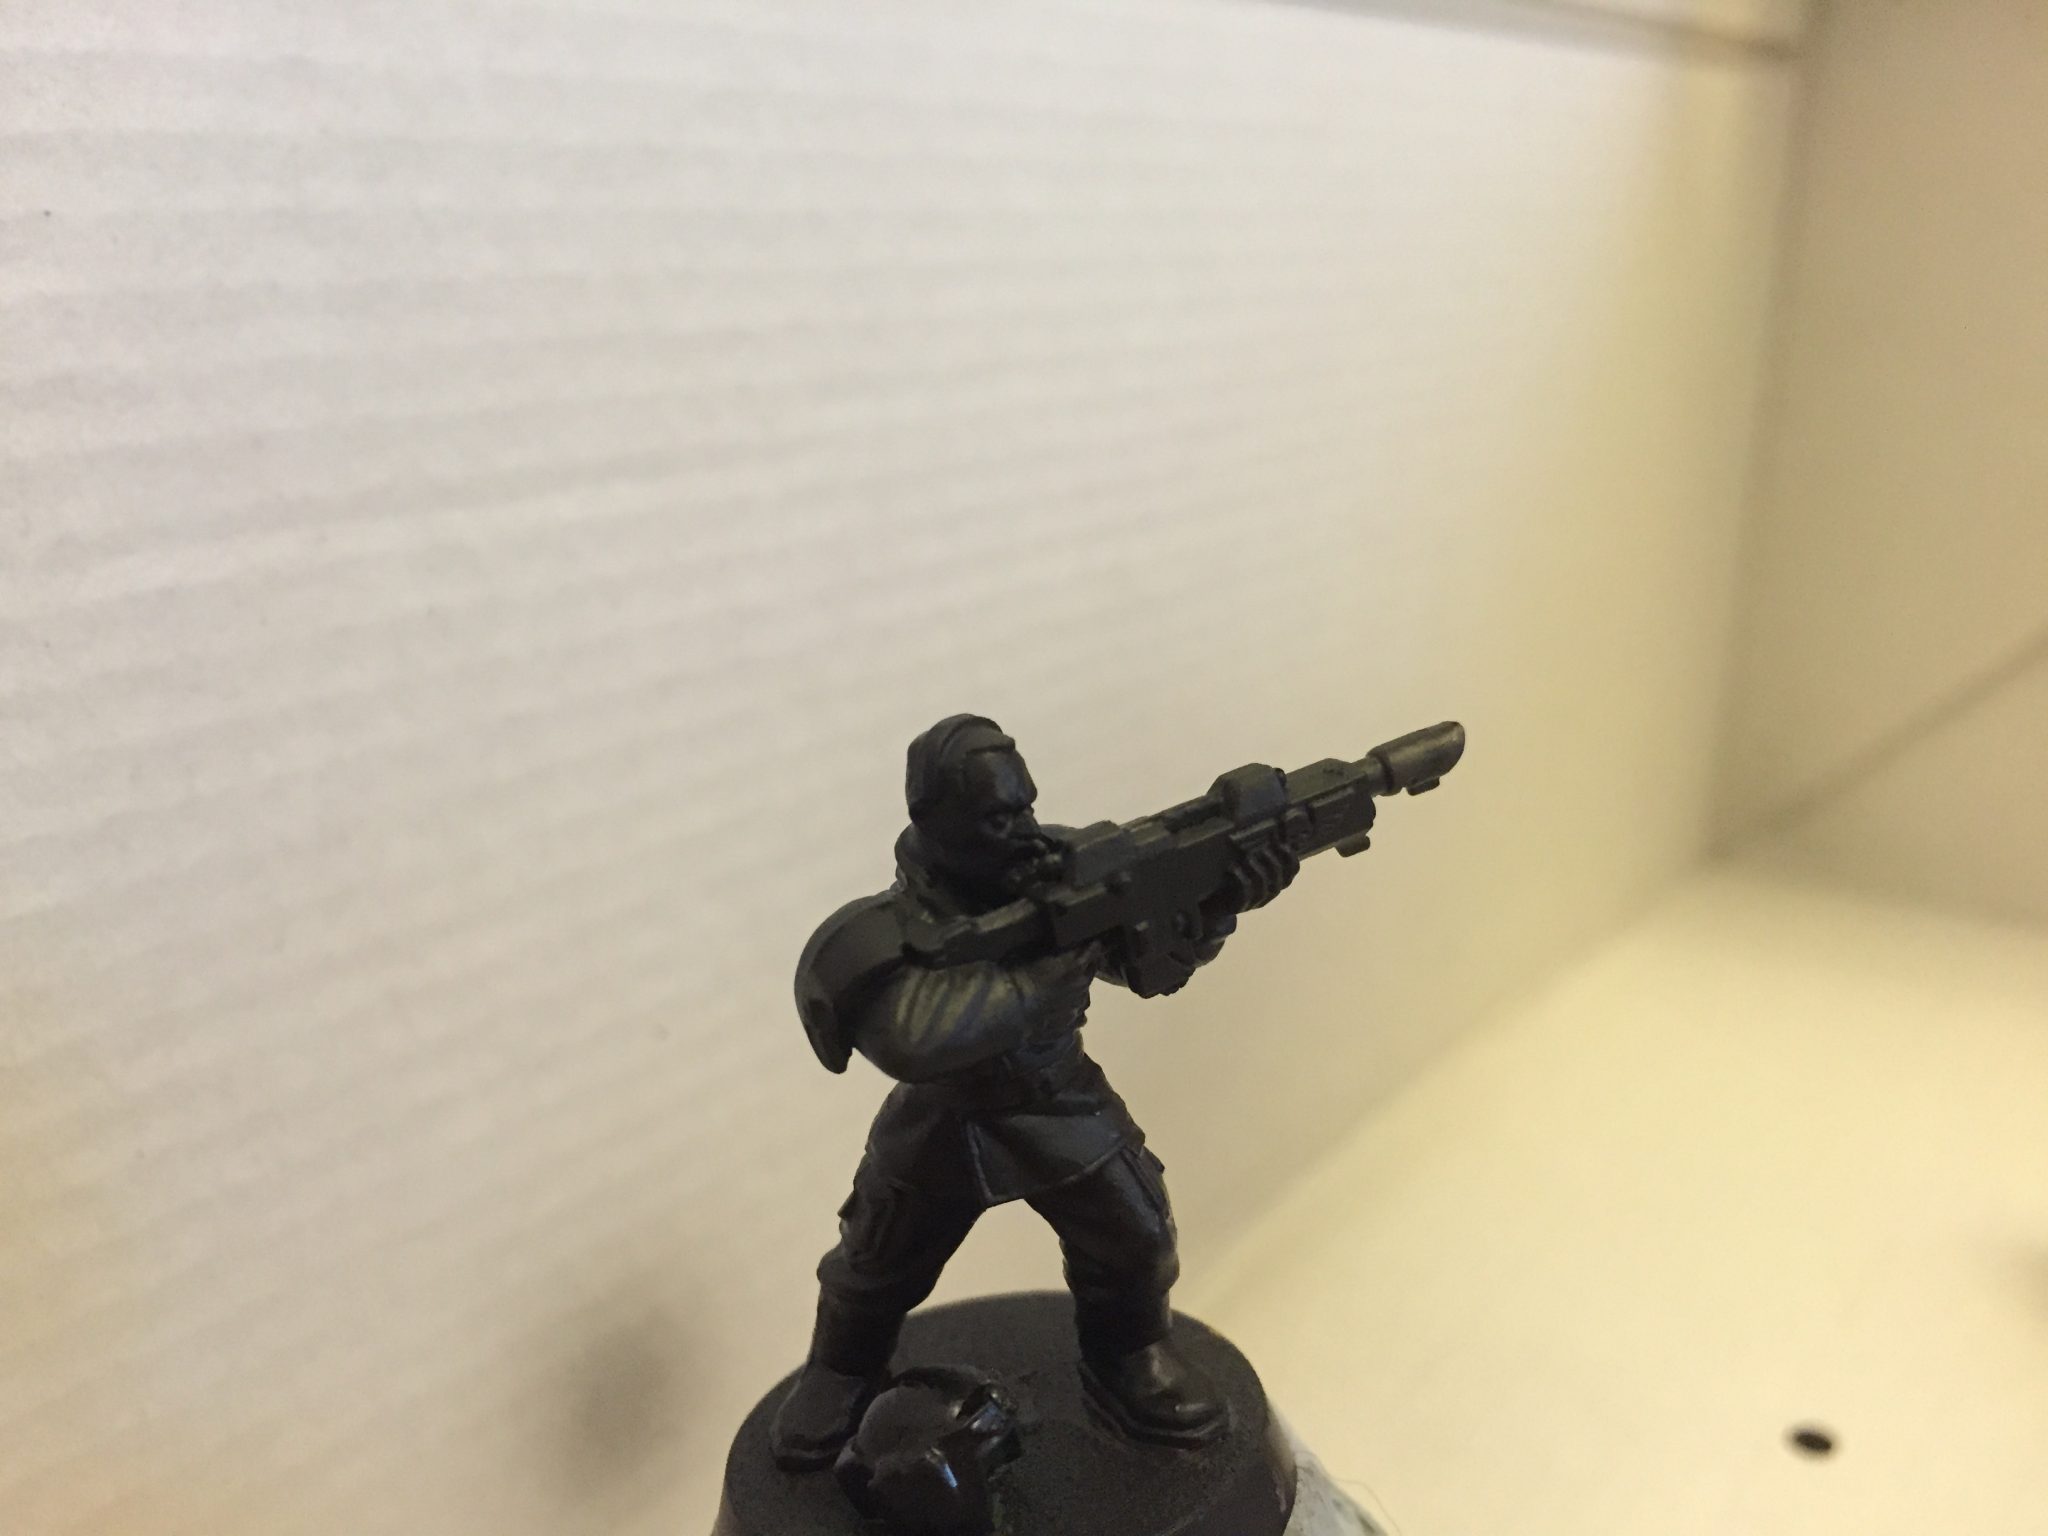
Now for the fun bit! I started out on a badly panted eBay model that came in some large lot of Cadian Shock Troops. I used black to cover up the existing paint. It was great! A single thin layer was applied quickly and the old paint job was gone. The airbrush put down a really nice thin coat. I’d also placed water through the airbrush first to gauge the rate of release so I didn’t saturate the model with paint.
The trigger has a duel action, this I didn’t know until I watched a YouTube video. Push down for air and pull back for paint. This gives you a really nice level of control. The back of the airbrush also has a screw that allows you to set the maximum flow rate of the paint. This is really handy because it stops you opening it up and spitting loads of paint onto the model.
eBay Guardsmen – pre airbrush
eBay Guardsmen – post airbrush
Breaking It
No new toy (and that feeling of excitement you have on Christmas morning) would be complete without a breakage. It’s like that new radio control car you got as a kid, you use it once then go to charge the battery and connect it incorrectly. The battery fries and you’ve a two week wait to get a new battery. I did this with my airbrush although with less of a wait and less tears.
When it came to cleaning the airbrush I had watched a video on YouTube on the matter. So I followed this video. What I should’ve done is listen to ResinJunkie. After removing the two nozzle caps there is a small cone that is undone with a tiny spanner. I took this off to clean it. Upon putting it back on I turned it, gently, one half revolution too far and it stripped the thread! Like this guy. That meant it no longer sat snug on the front of the airbrush. It was broken.
I bought a set of new nozzles from the net and the same new airbrush that day – Friday. They both arrived Tuesday and I was back up and running. I was unsure the new nozzles would fit hence me buying the nozzles and the airbrush. Turns out they didn’t, but the new airbrush worked just fine. So now the old one is for spares.
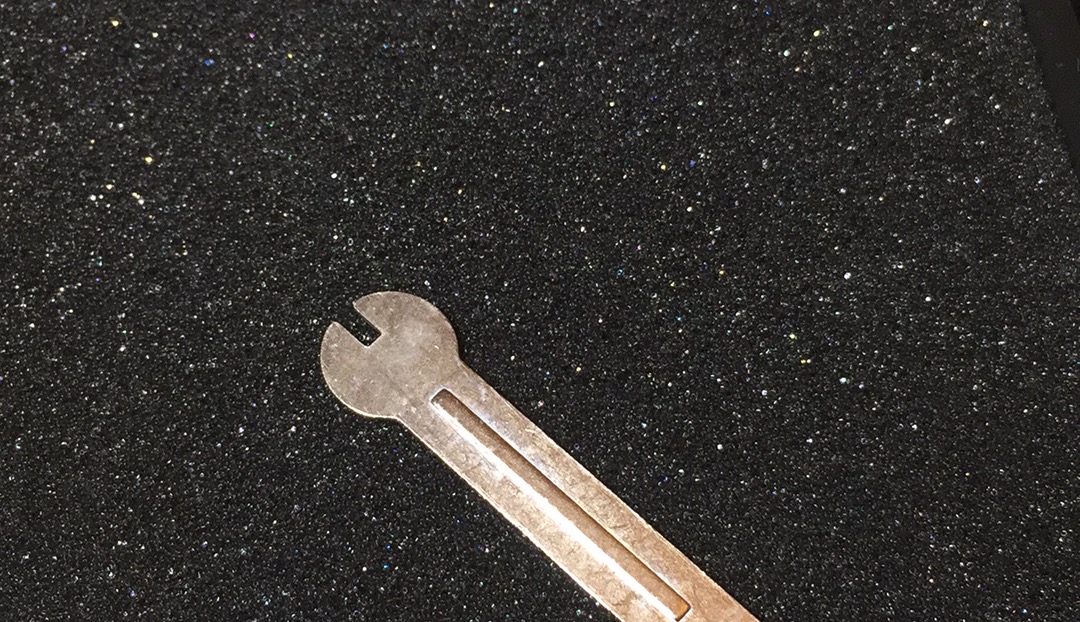
Spanner
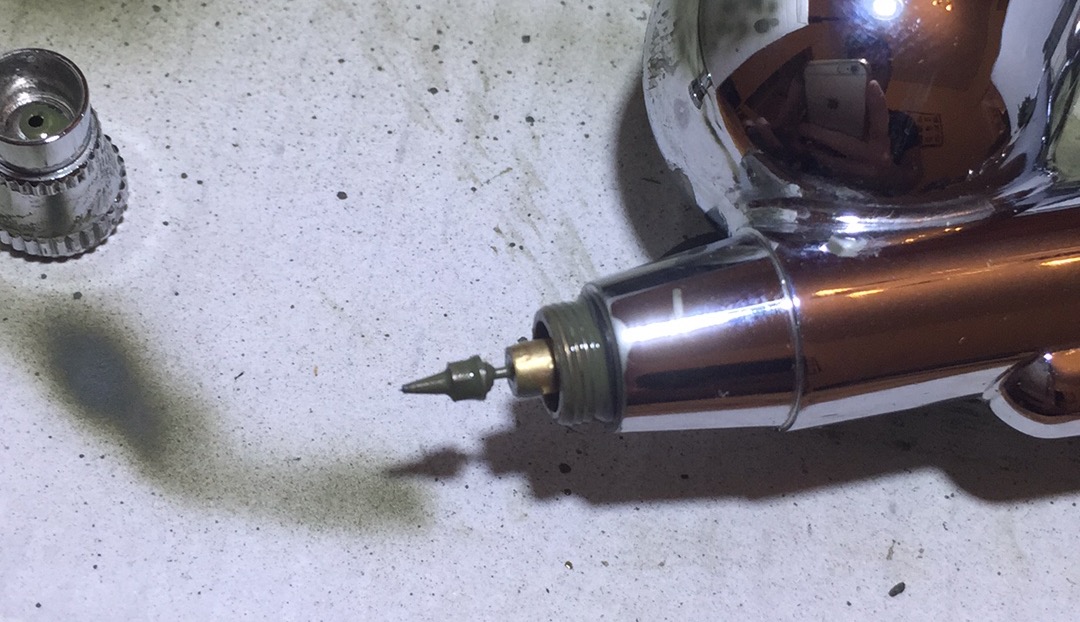
Broken airbrush nozzle
Summary
There is only this to say;
Why didn’t I buy one sooner!
I have painted more vehicles in 4 days than I have over the last year!
Next update….Camo Strips!
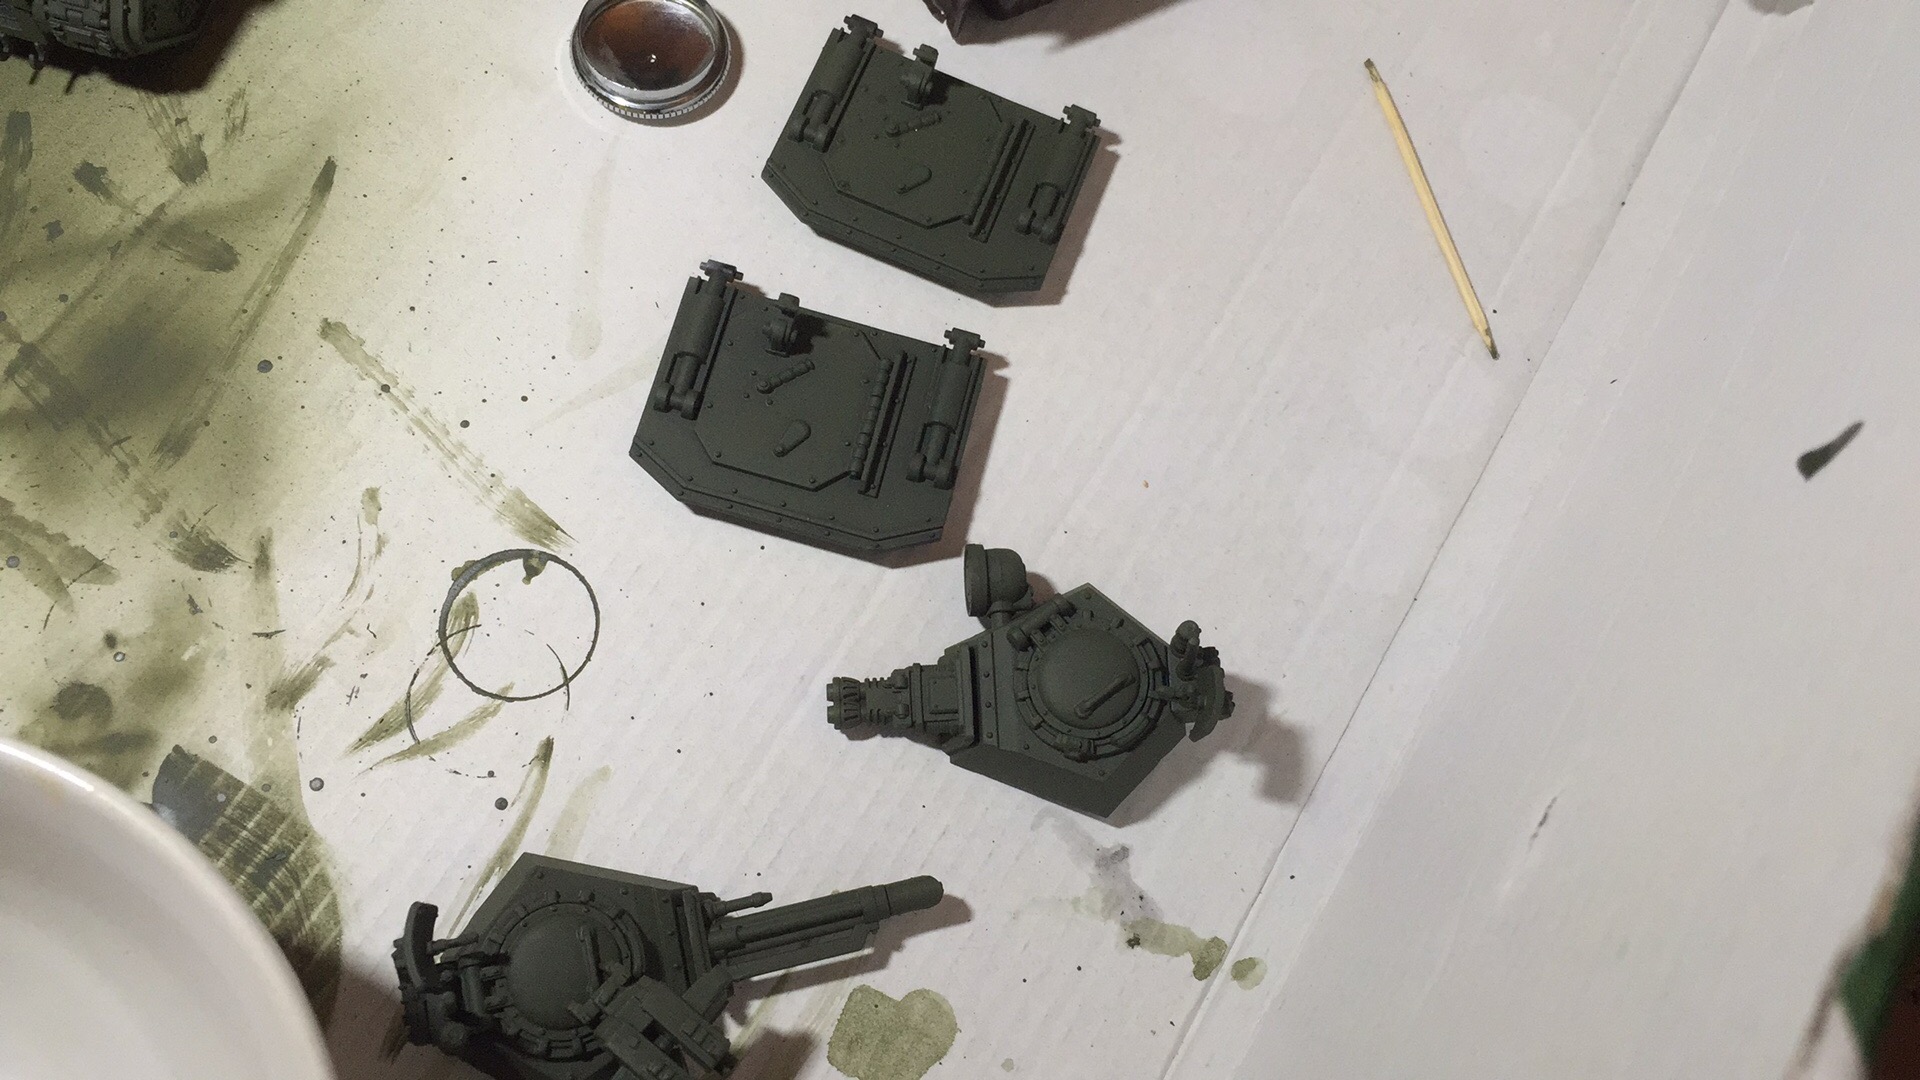
Turrets and Doors

Airbrushed Chimera
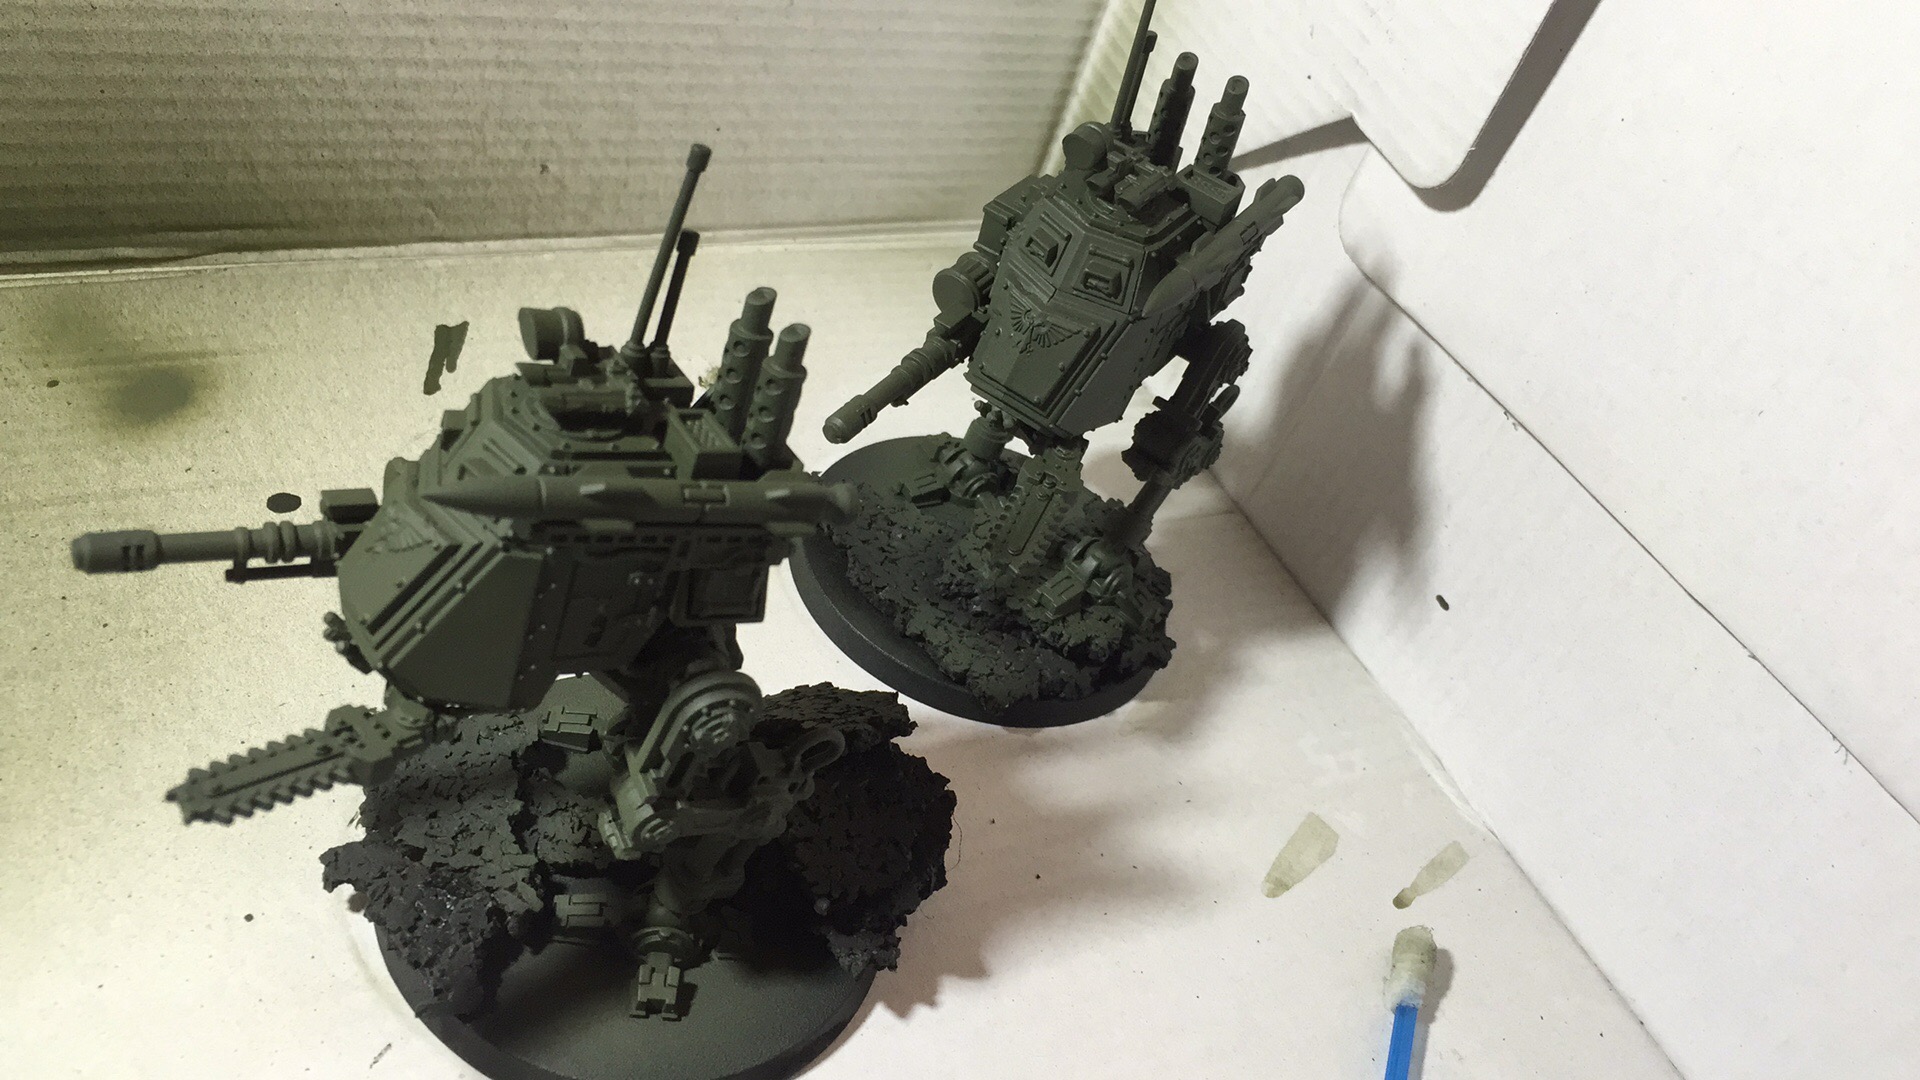
Sentinels based with airbrush