
8th Edition Battle Report – 100 PL – Astra Militarum Vs Dark Angels
My very first Warhammer 40K 8th Edition Battle Report - enjoy!
Welcome to my fist 8th Edition Battle Report! It was 100 power level against Dark Angels. I wrote and published my 100 power level Astra Militarum list a few days ago. This might get fairly lengthy, so if you want to see how 8th works then keep going.
Never miss an article? Subscribe!
100 Power Level Dark Angels List for 8th Edition Battle Report
Battle Forged +3CP, Battalion Detachment +3CP, all sharing the Adeptus Astartes keyword
HQ
- Azrael (Warlord and +1CP)
- Chaplain with Crozius arcanum, Frag & Krak grenades and Plasma pistol
Troops
- 3x Intercessor Squads
Elites
- Deathwing Knights (in Land Raider) with 1x Flail of the Unforgiven, 4x Mace of Absolution and 5x Storm shield.
- Deathwing Terminators (in Land Raider) with 1x Thunder Hammer & Storm Shield, 1x Cyclone missile launcher & Storm bolter and 3x Storm Bolter & Chainfist.
Fast Attack
- Inceptor Squad
Heavy Support
- Land Raider with Hunter Killer Missile, Storm Bolter, Twin Heavy Bolter, 2x Twin Lascannons, Multi Melta.
- Land Raider Crusader with Hunter Killer Missile, 2x Hurricane Bolters, Storm Bolter, Multi Melta, Twin Assault Cannon.
7 Command Points in total. Not many models here it seems! Wow! I had become fairly optimistic once I knew this list just before the battle. Was I right to be optimistic – read on!
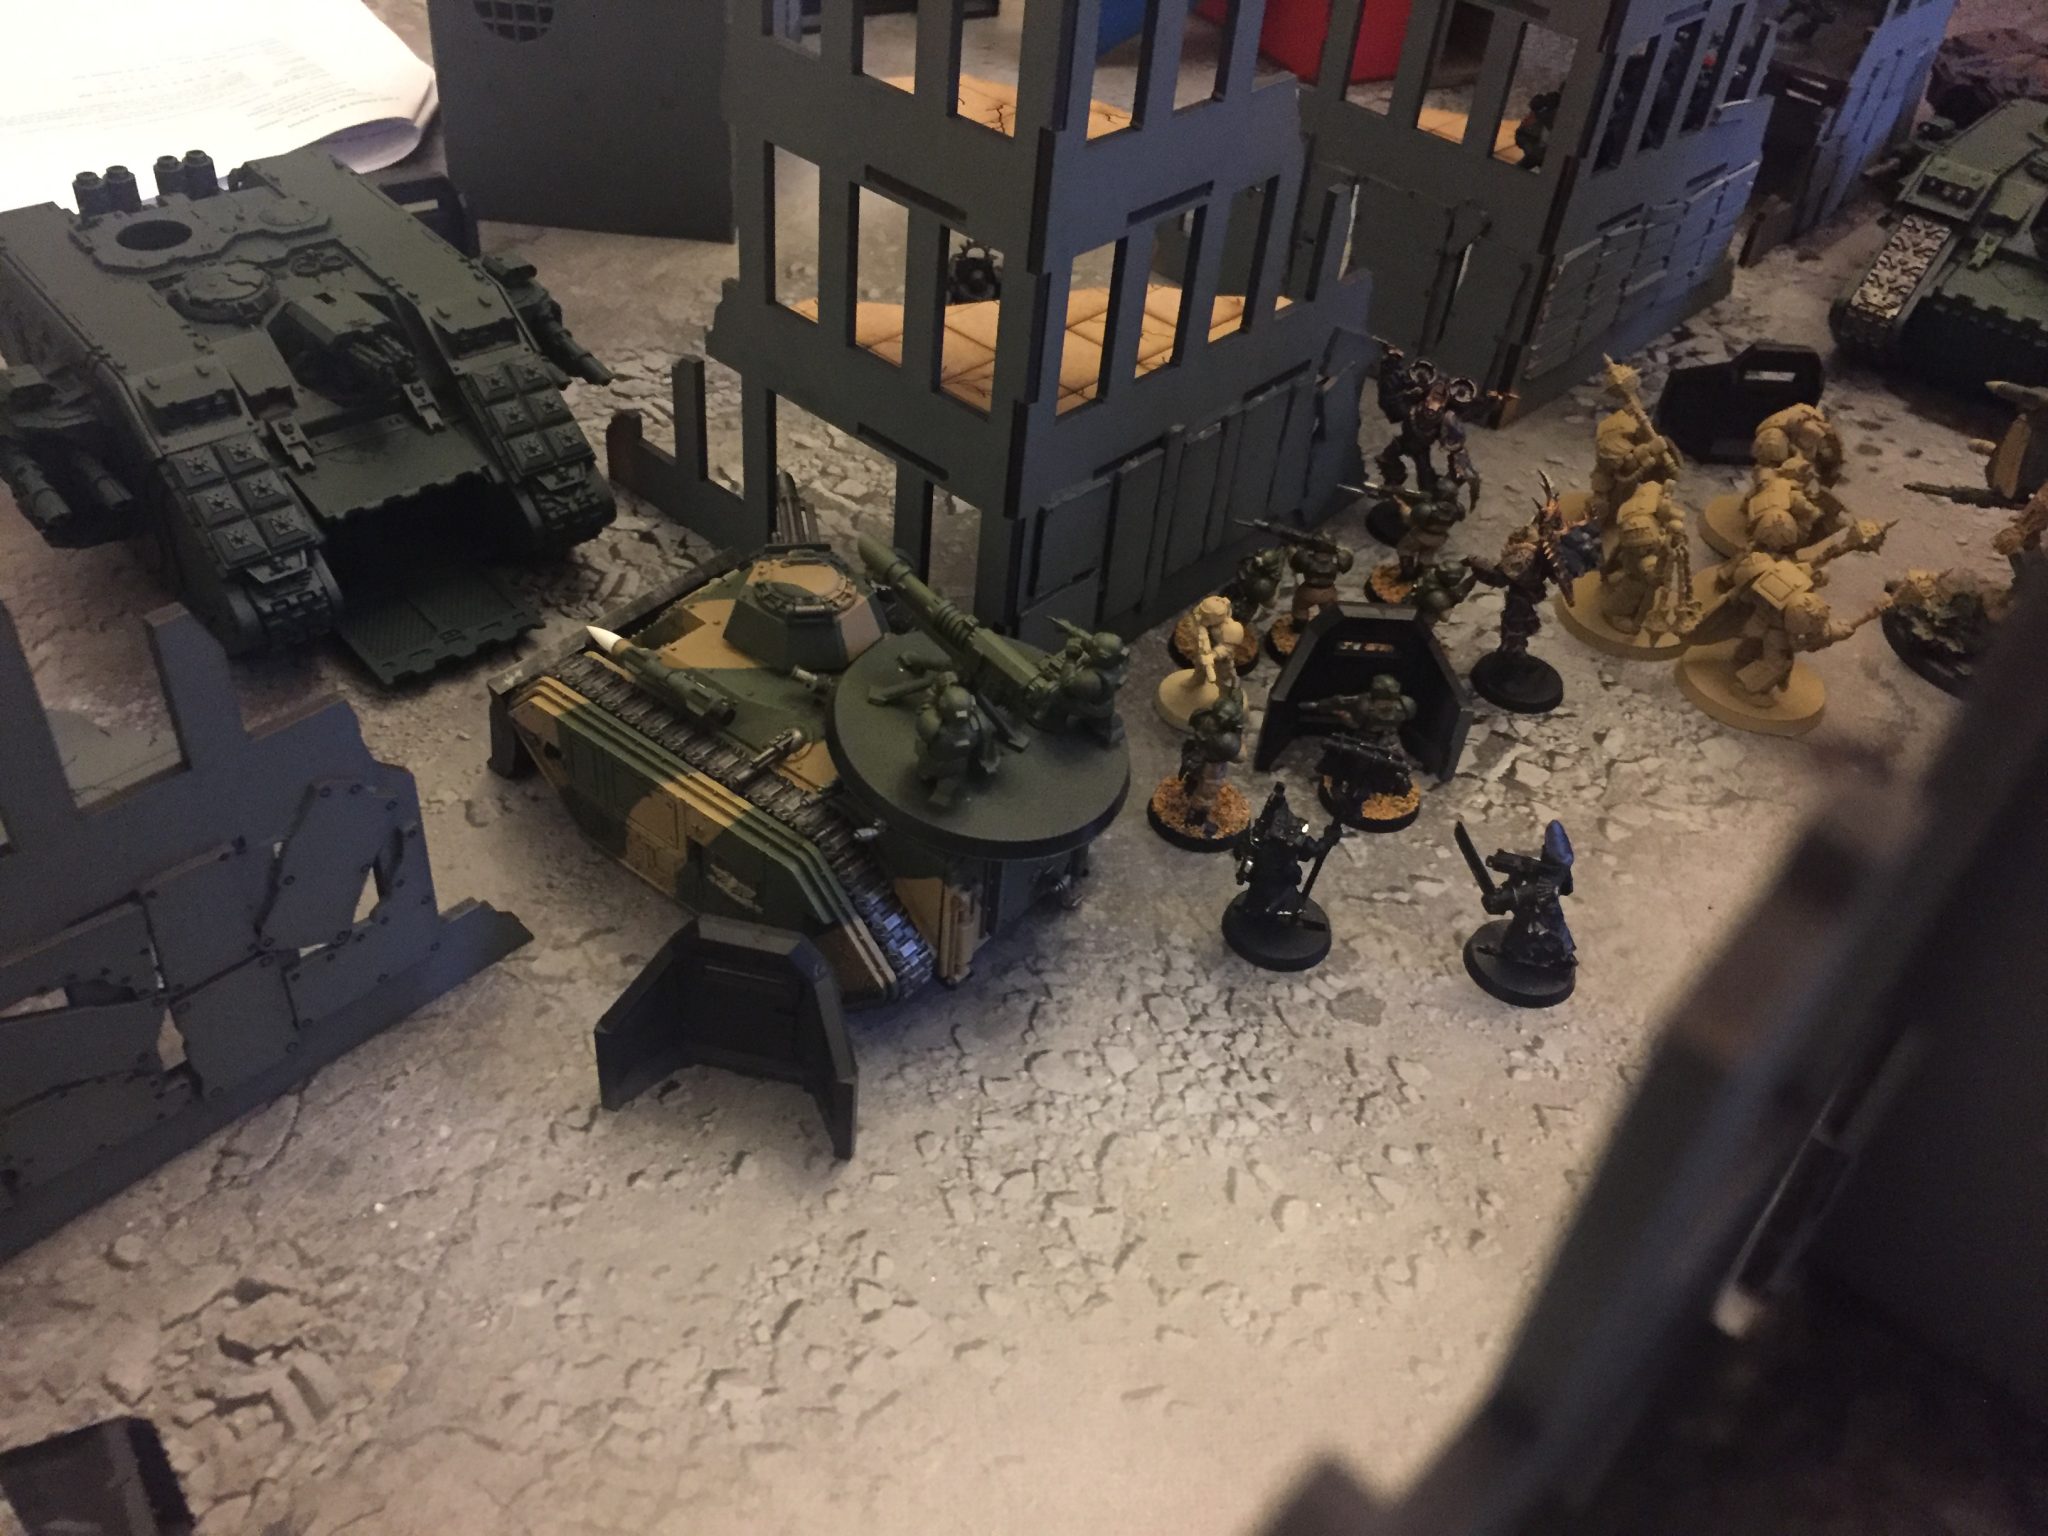
Dark Angels force – the Tactical Marines in the ruins are proxy Intercessor Marines and the Raptors in the lower left are proxy Inceptors.
Imagery
I will sprinkle in some relevant photos, rather than try and show a picture for each and every event in each turn.
Mission
We played the new Cities of Death mission which has a couple of twists:
- Infantry units that do not move for a whole turn in a ruin gain a +2 cover bonus, not +1.
- Grenades against units in ruins use their maximum attacks and you can re-roll wounds.
- Units targeted by shooting attacks from enemies height advantage (>3″ elevation) do not gain a cover bonus.
- Streets and Roads give units +2″ movement or +4″ if they Advance.
Some nice twists here! The Grenades and Roads rule never came into play. The other two were interesting though.
We also got access to four specific Stratagems:
- Sewer Rats 2CP – allows an Infantry unit to set up more than 9″ from any enemy in any of your Movement phases.
- Medicae Facility 1CP – select a ruin for this ability, embarked units get an extra 6+ save.
- Death in the Streets 1CP – used on a friendly unit with a hight advantage (>3″ elevation) when it shoots an enemy unit that is entirely at street level – You can re-roll failed to hit and to wound rolls.
- Booby Traps 1CP – select a ruin for this ability that is not occupied, the first model to enter the ruin gets D3 Mortal Wounds (D6 is they Advance into the ruin).
We placed 6 objectives in 6 different city ruins. The winner would be the person with the most after 6 turns. Too many sixes. Slaanesh lurks near.
We have a house rule that is;
If a building has more than one level you cannot see at all through the ground floor – even if its completely open.
This is because some buildings on the ground floor are completely covered and some have small gaps that you can just see through. Its easier to just say you cannot see through any at all. This also massively increases the amount of cover available.
8th Edition Battle Report Deployment
We deployed in opposite quarters on a 6’x4′ board. The centre of the board was very busy as the Dark Angels stacked up towards the centre. I placed my Sentinels close to the centre along with my Conscripts to try and slow the advance. Just about every Dark Angels unit deployed as close as possible to the centre of the table!
My Wyverns went right at the back in cover and were hidden. With the Master of Ordnance right next to them. I made a massive error and placed Pask on my left flank and the other two Leman Russ on the right flank. Such a waste of two tank orders per turn! Chimeras went on opposite flanks too to try and grab objectives not in my deployment zone.
My two Infantry Squads with Lascannons I placed in four story high ruins to get a height advantage. Creed stayed with one of the squads, as did Kell. I needed Creed near a Vox Caster.
The Ratlings deployed in the 4th story of a building just outside my deployment zone. I think I should have forced them forward more and into danger. But it would’ve given them a much better view of the field.
We both Booby Trapped a building and we both designated a building as a Medicae Facility. My facility contained Creed and the Dark Angel’s facility contained two squads of five Intercessor Marines.
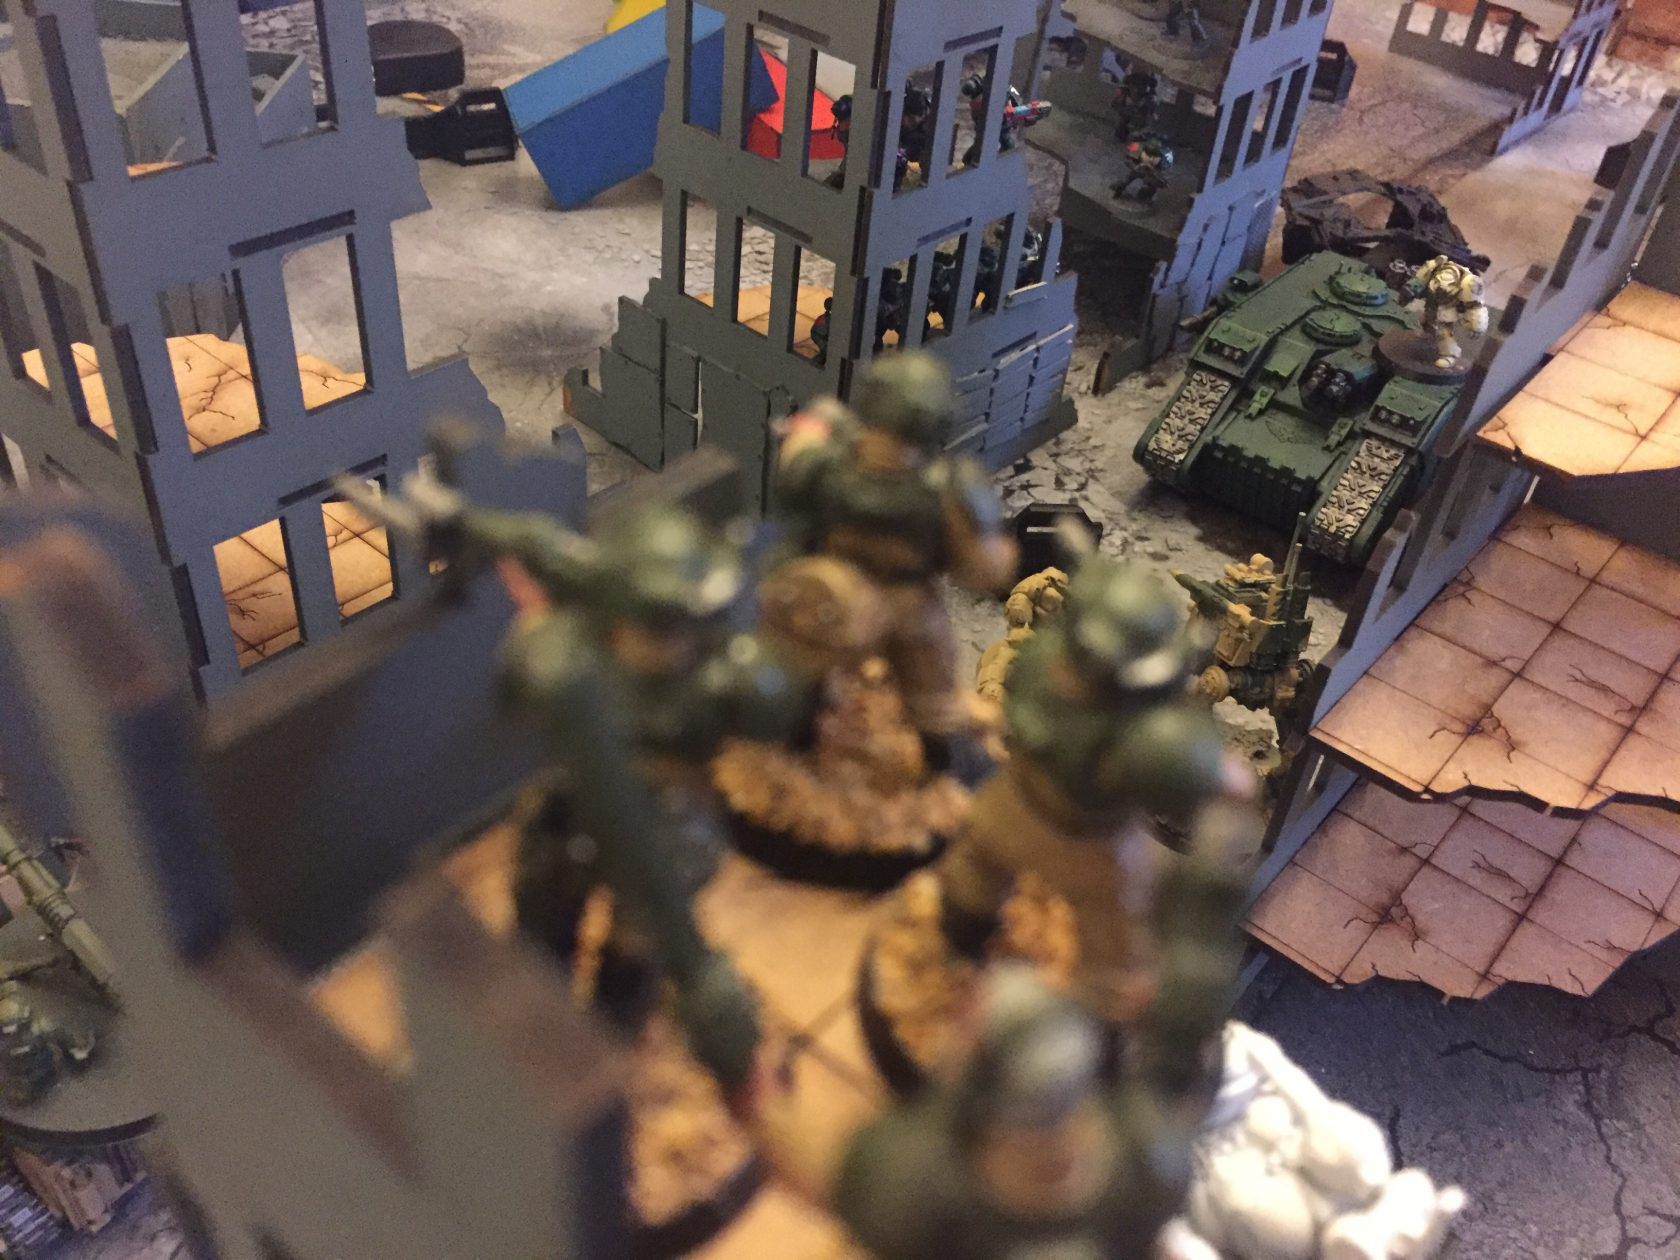
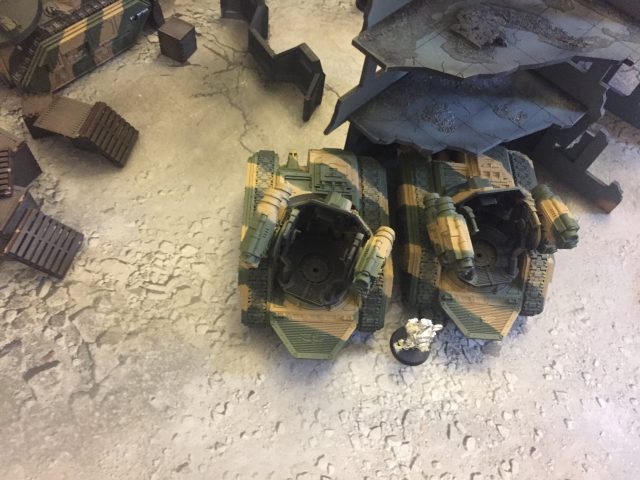
Given the lack of Dark Angel units they finished deploying first which gave the choice of going first or second. They went fist. Azrael has deployed in a fantastic position, on the ground floor of a ruin right by my Sentinel in the 5th photo below. He can give out his re-roll to hit and 4+ Invulnerable Save to all Intercessor Squads, a Land Raider and the Deathwing Knights from here. And I cannot see him.
-

- Where the Sentinel is and the corner of the building is the board centre
-
- Deployment Main Road
-
- Hidden Wyverns and MoO
-
- Conscripts take up the main street below Creed and two Infantry Squads
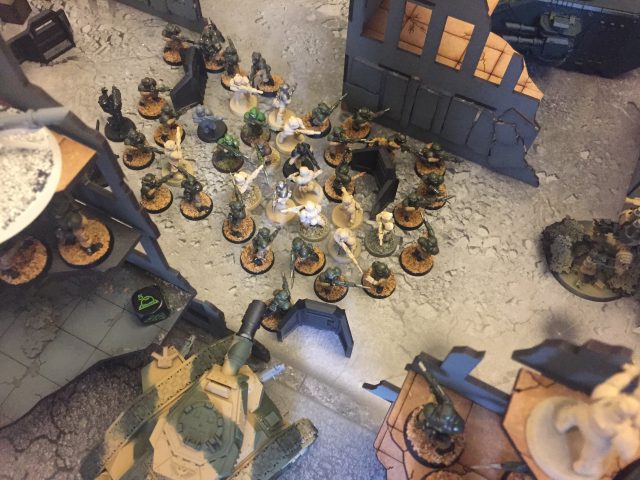
-
- Units are very close in the table centre where the two quarters meet
Turn 1
Dark Angels
The Inceptors set off my Booby Trap and a model took a single Mortal Wound. Yeah!
It seems that at some point in the past the Conscripts disrespected the Dark Angels hugely. They took 38 casualties in the first turn of shooting. Luckily the Commissar stopped them from taking loads of additional casualties. More shooting from so many Bolter based weapons soon wiped out a squad of Guardsmen that were overlooking the street. Even with their improved cover save of 4+ they all perished. The amount of anti infantry sounds the Dark Angels had was impressive. Assault Cannons, Intercessor Marines, Inceptor Marines, Hurricane Bolters, etc.
The Lascannons and Multi-Meltas on the Land Raiders did a little damage to a Leman Russ but not enough to decrease its stat line. The Chimeras were unharmed as were the hidden Wyverns.
The Land Raider Crusader ejected its Deathwing Knights and rumbled towards Pask. The Deathwing Knights assaulted a Sentinel and removed all its wounds with ease.The Inceptors charged my Conscripts and removed a couple of Models. But not before I spent 2CPs to ensure my Conscripts hit first – this seemed a little excessive for ten Conscripts to hit the Inceptors. But with the Priest near by and their 20 attacks they caused a single wound. Which finished off the wounded Marine from the Booby Trap. Little steps men, little steps.
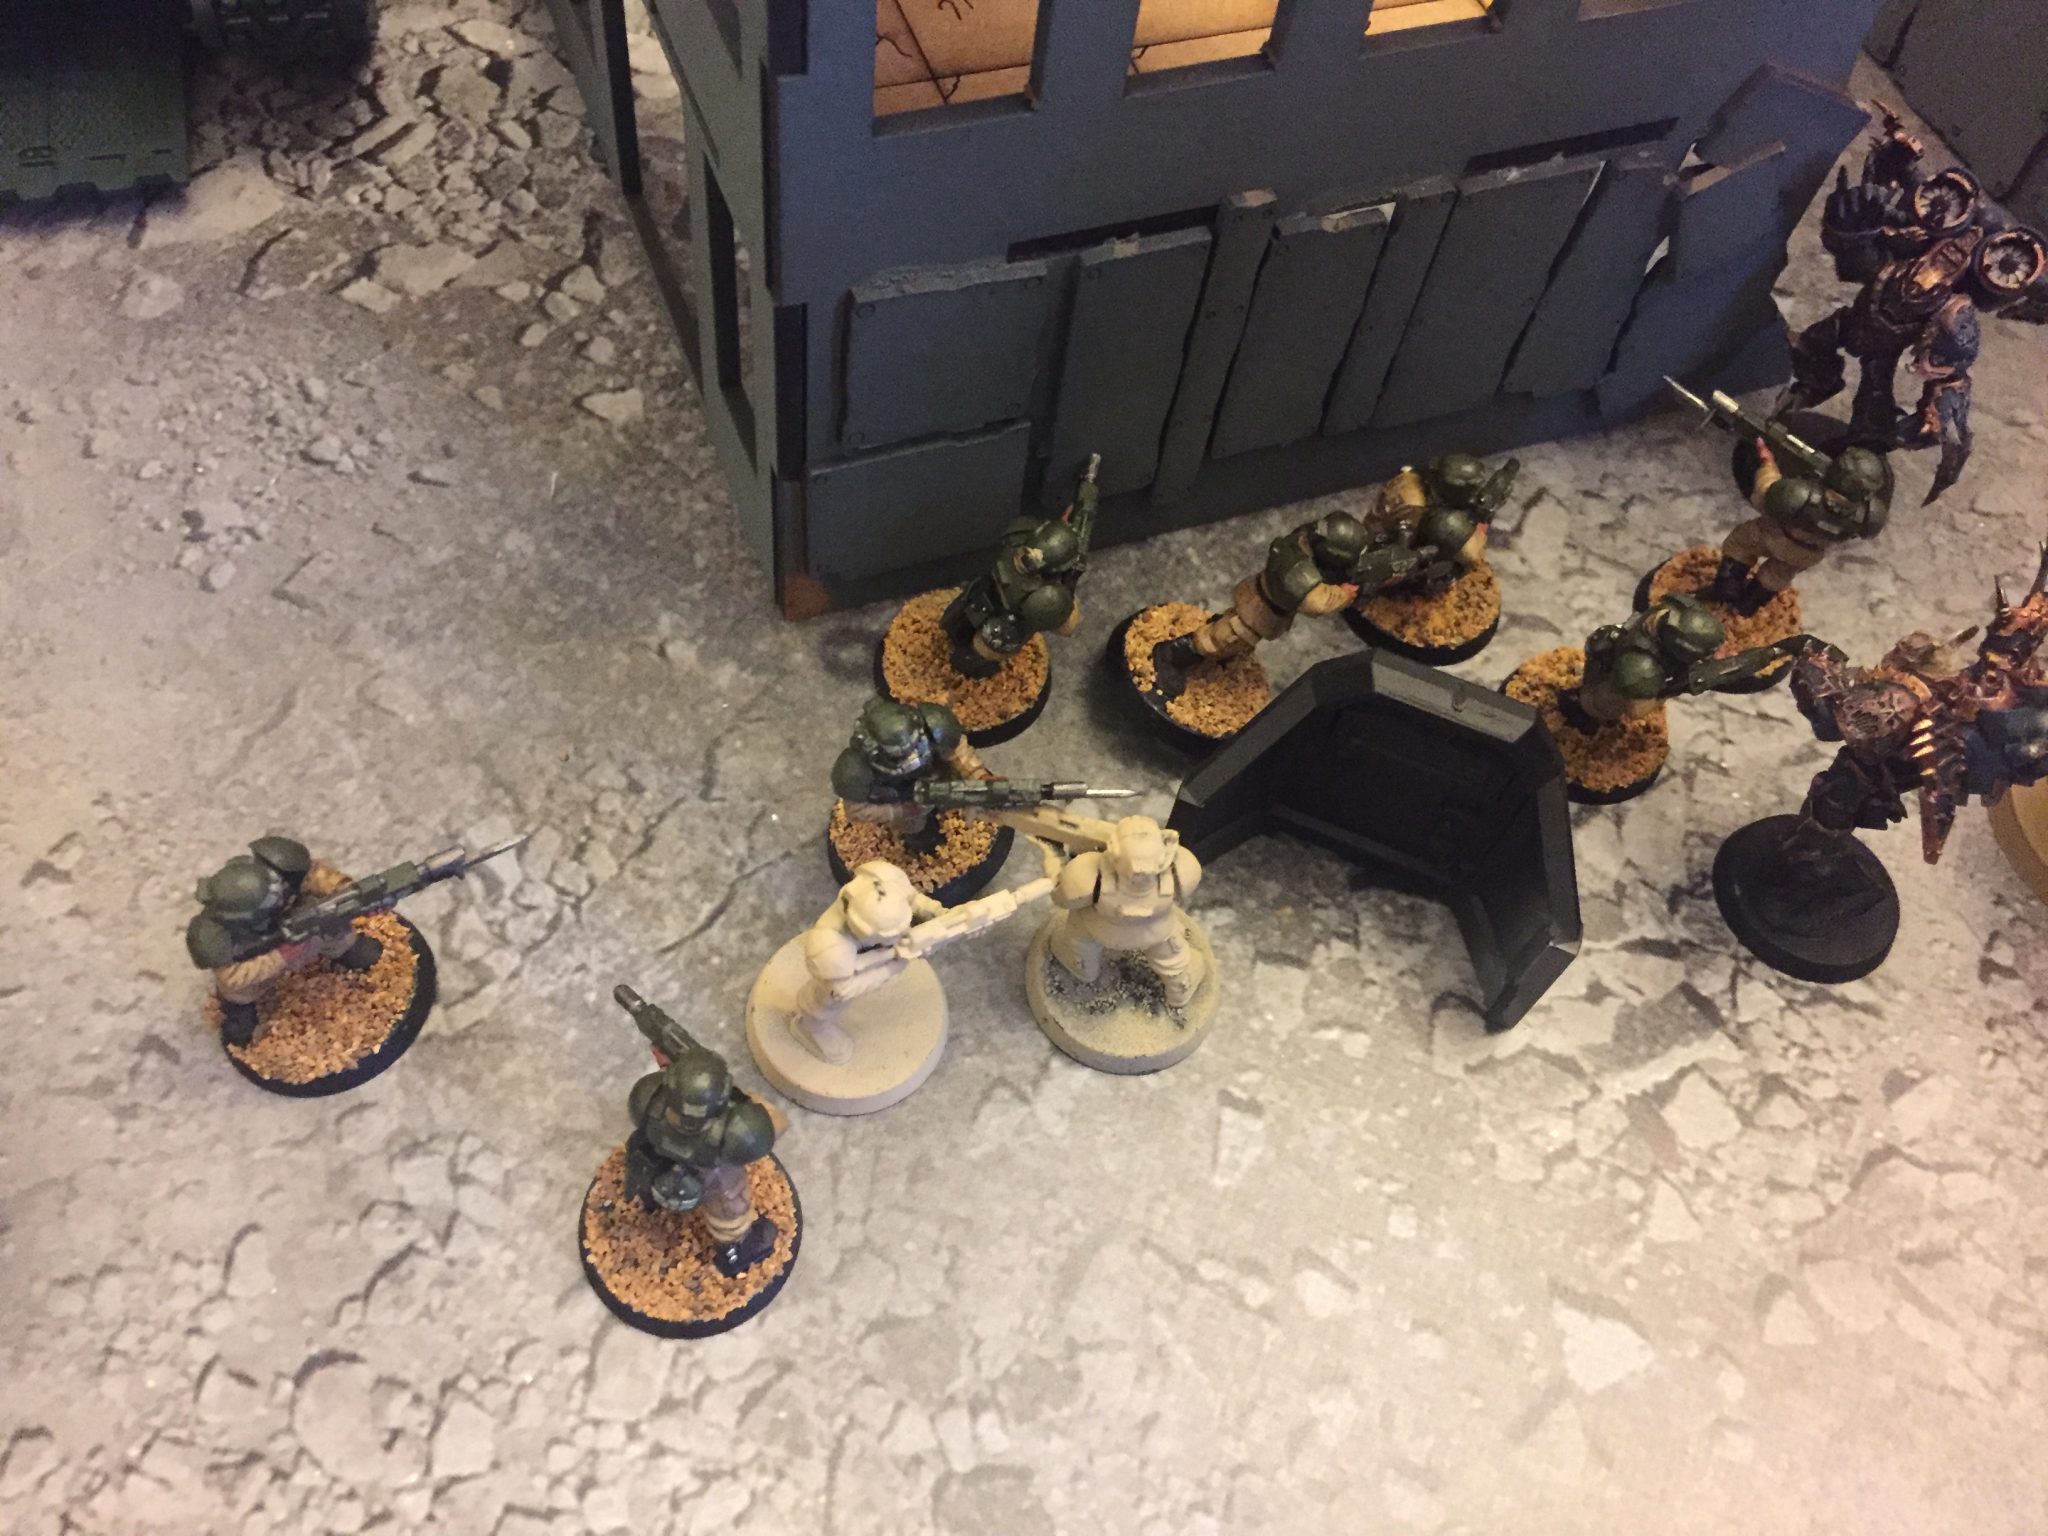
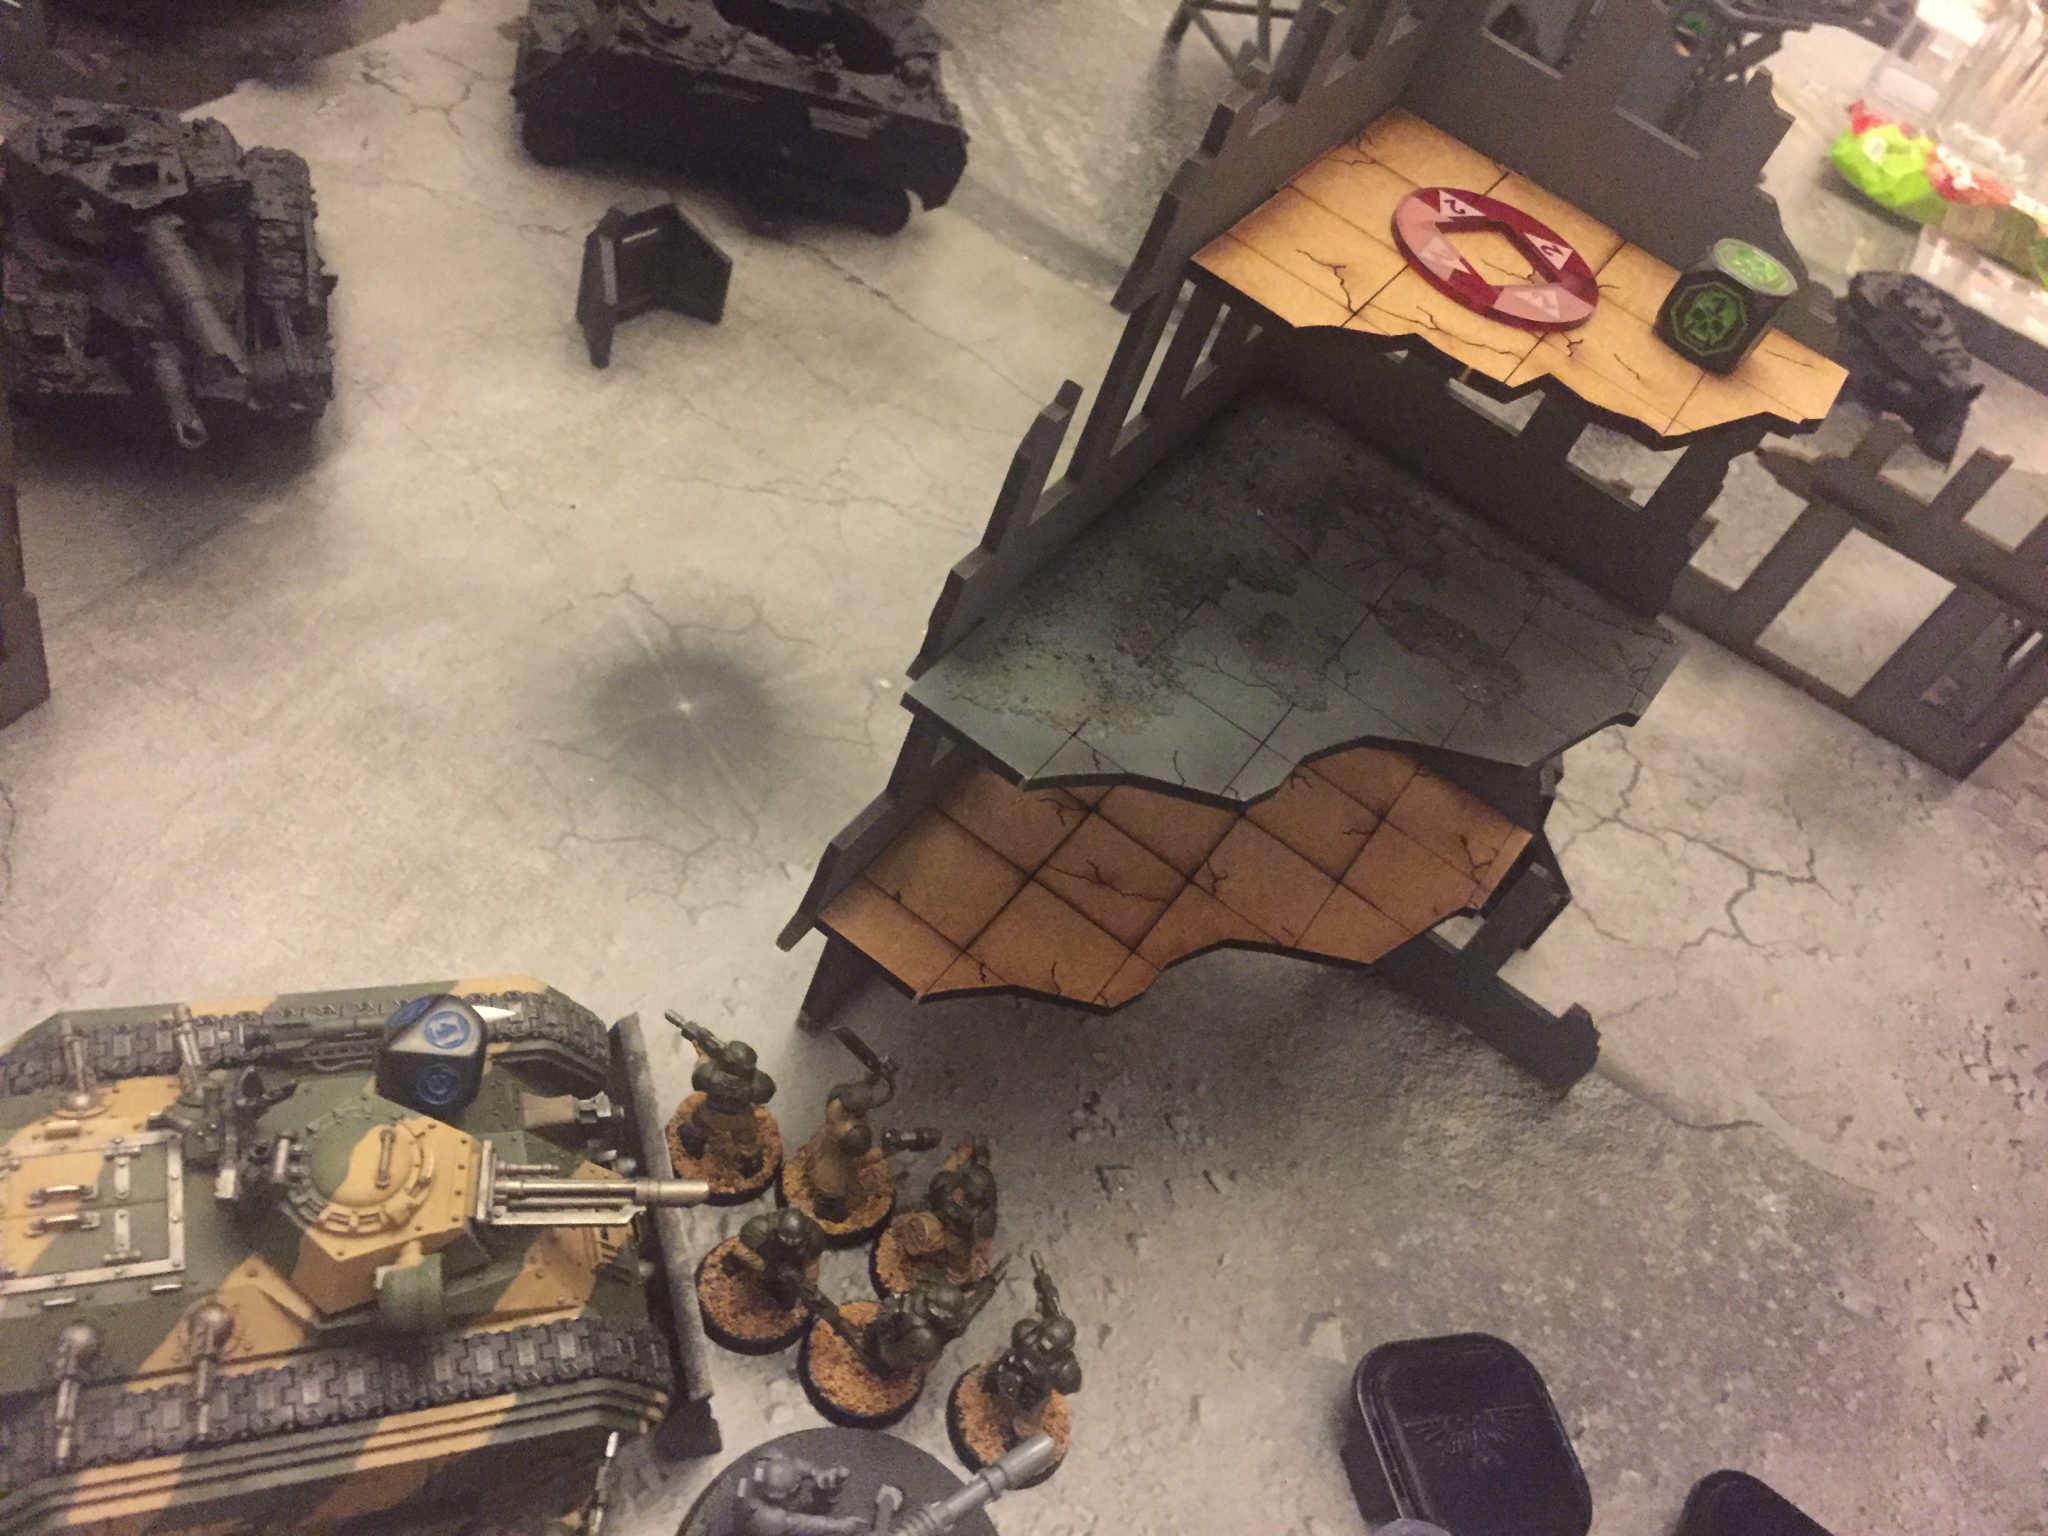
My remaining Conscripts after turn 1
Astra Militarum
I was positive still at this point. I had lost a squad of Guardsmen, a Sentinel and 40 Conscripts. A lot of models but my force was still intact and was able to operate effectively.
My Chimeras race forwards, one down a flank to take an objective that no one is near and the other right into the path of a Land Raider, ready to charge it next turn along with its embarked Guardsmen. Pask moves up to shoot the “side armour” of the Land Raider, still miles away from his fellow Leman Russ. Gah! I do not move anything else as they already have good lines of fire and the Wyverns can fire where ever they wish to!
While I have a lot of shooting there is nothing really amazing that stands out here. The Deathwing Knights take a casualty or two from the Wyverns. The Leman Russ with their Battle Cannons and 9 heavy Bolter shots damage the Deathwing Knights further. There is now only two left and one is down to one wound.
The Ratlings pick out the Chaplain from the crowd and cause a wound. Pask unloads two Multi-Meltas, a Lascannon and 20 Punisher shots into the Land Raider Crusader. He does no damage. A Chimera fires a Hunter Killer Missile into the same Land Raider and causes two wounds. This game! Argh!
The bravest Chimera is all the kingdom
Turn 4 Summary
There was no explodes on turn one from a lucky shot! Things are hellish durable and the tanks just shrug off shots. My infantry are wasting away as quickly as I expected them too. But I think I have rolled more saves for infantry in 8th so far than I did for the entire lifetime of 7th. The new AP system really suits the weaker saves as you will usually get some sort of save, especially in cover. Where as in 7th your save was often just flat out ignored. Power to the flak armour!
Turn 2
Dark Angels
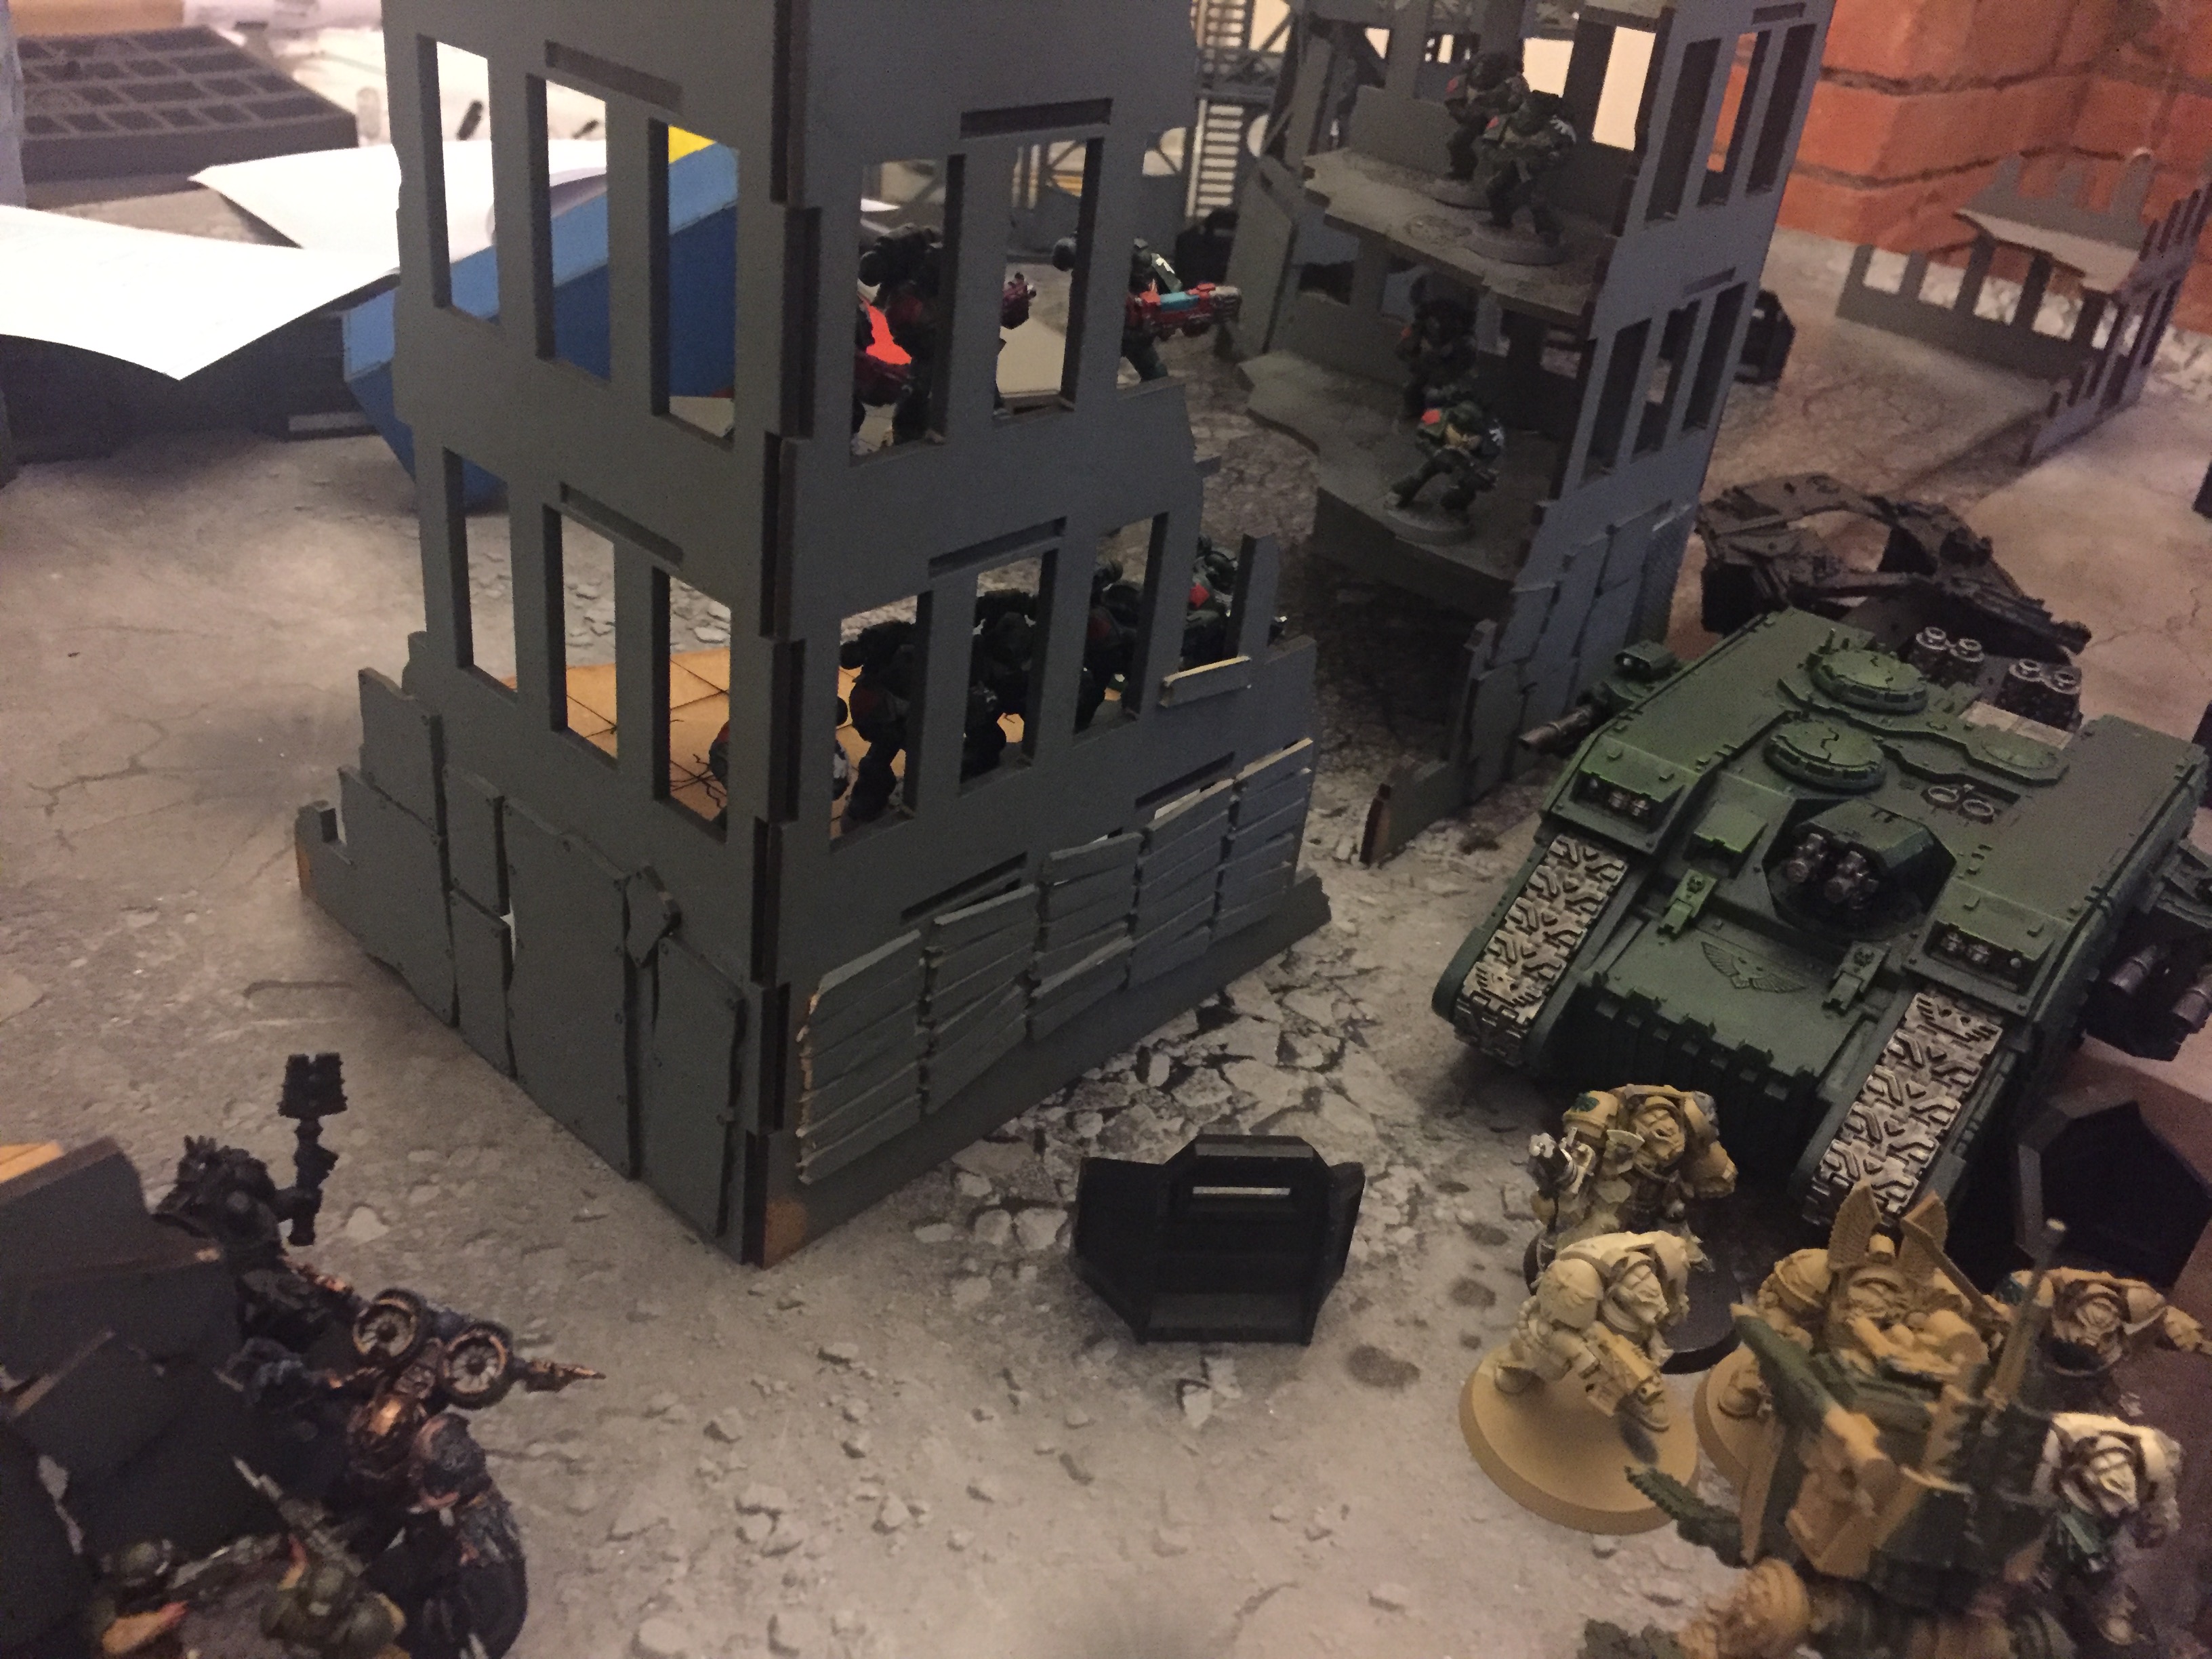
The Land Raider that has the Deathwing Terminators in now moves up after disembarking its troops. The Terminators are eyeing up my other Sentinel. And the remaining two Deathwing Knights move to assault a Leman Russ – in 7th this would be game over, what about in 8th?
There is little other movement from the Dark Angels. The Chaplain sits around as does Azrael who is still hidden in the grey ruin behind the Terminators in the photo below. I cannot see him! His re-roll to hit is really working well for all those Intercessor Marines above him in the ruin as they keep just chipping away at my Infantry Squads.
Shooting is poor overall with no big results and only a few wounds to a Leman Russ and my infantry. The Conscripts are still locked in combat and so cannot be shot up my Bolter rounds. Pas is reduced to half wounds in one volley from a Land Raider’s Multi-Melta. His BS is no worse, attacks are worse and his movement is reduced. Darn!
The Deathwing Terminators slay my other Sentinel with ease and consolidate towards the Leman Russ pictured below. They en this movement within 1″ of the Leman Russ – I think.
8th query:
You have to consolidate towards the nearest enemy unit – but there is no rule that says you must end the move outside of 1″? Therefore you can legally enter combat again in a consolidation move and prevent the target from firing in their next turn?
The Conscripts and Inceptors remain in combat and are generally doing no wounds to one another and my Commissar prevents the Conscripts from removing multiple models.
Finally the Deathwing Knights charged my Leman Russ who removed a single wound from the unit which killed another Deathwing Knight. There is now only one left.
8th query:
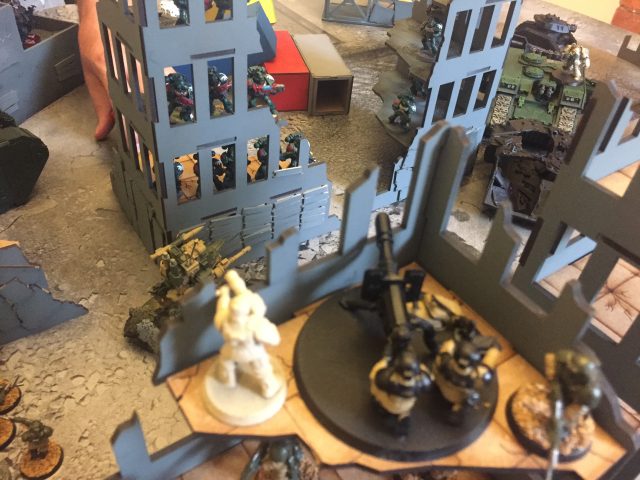
Can you Overwatch with all your weapons on a vehicle? I had presumed so because Overwatch is the same as the Shooting Phase – but you are just hitting on sixes?
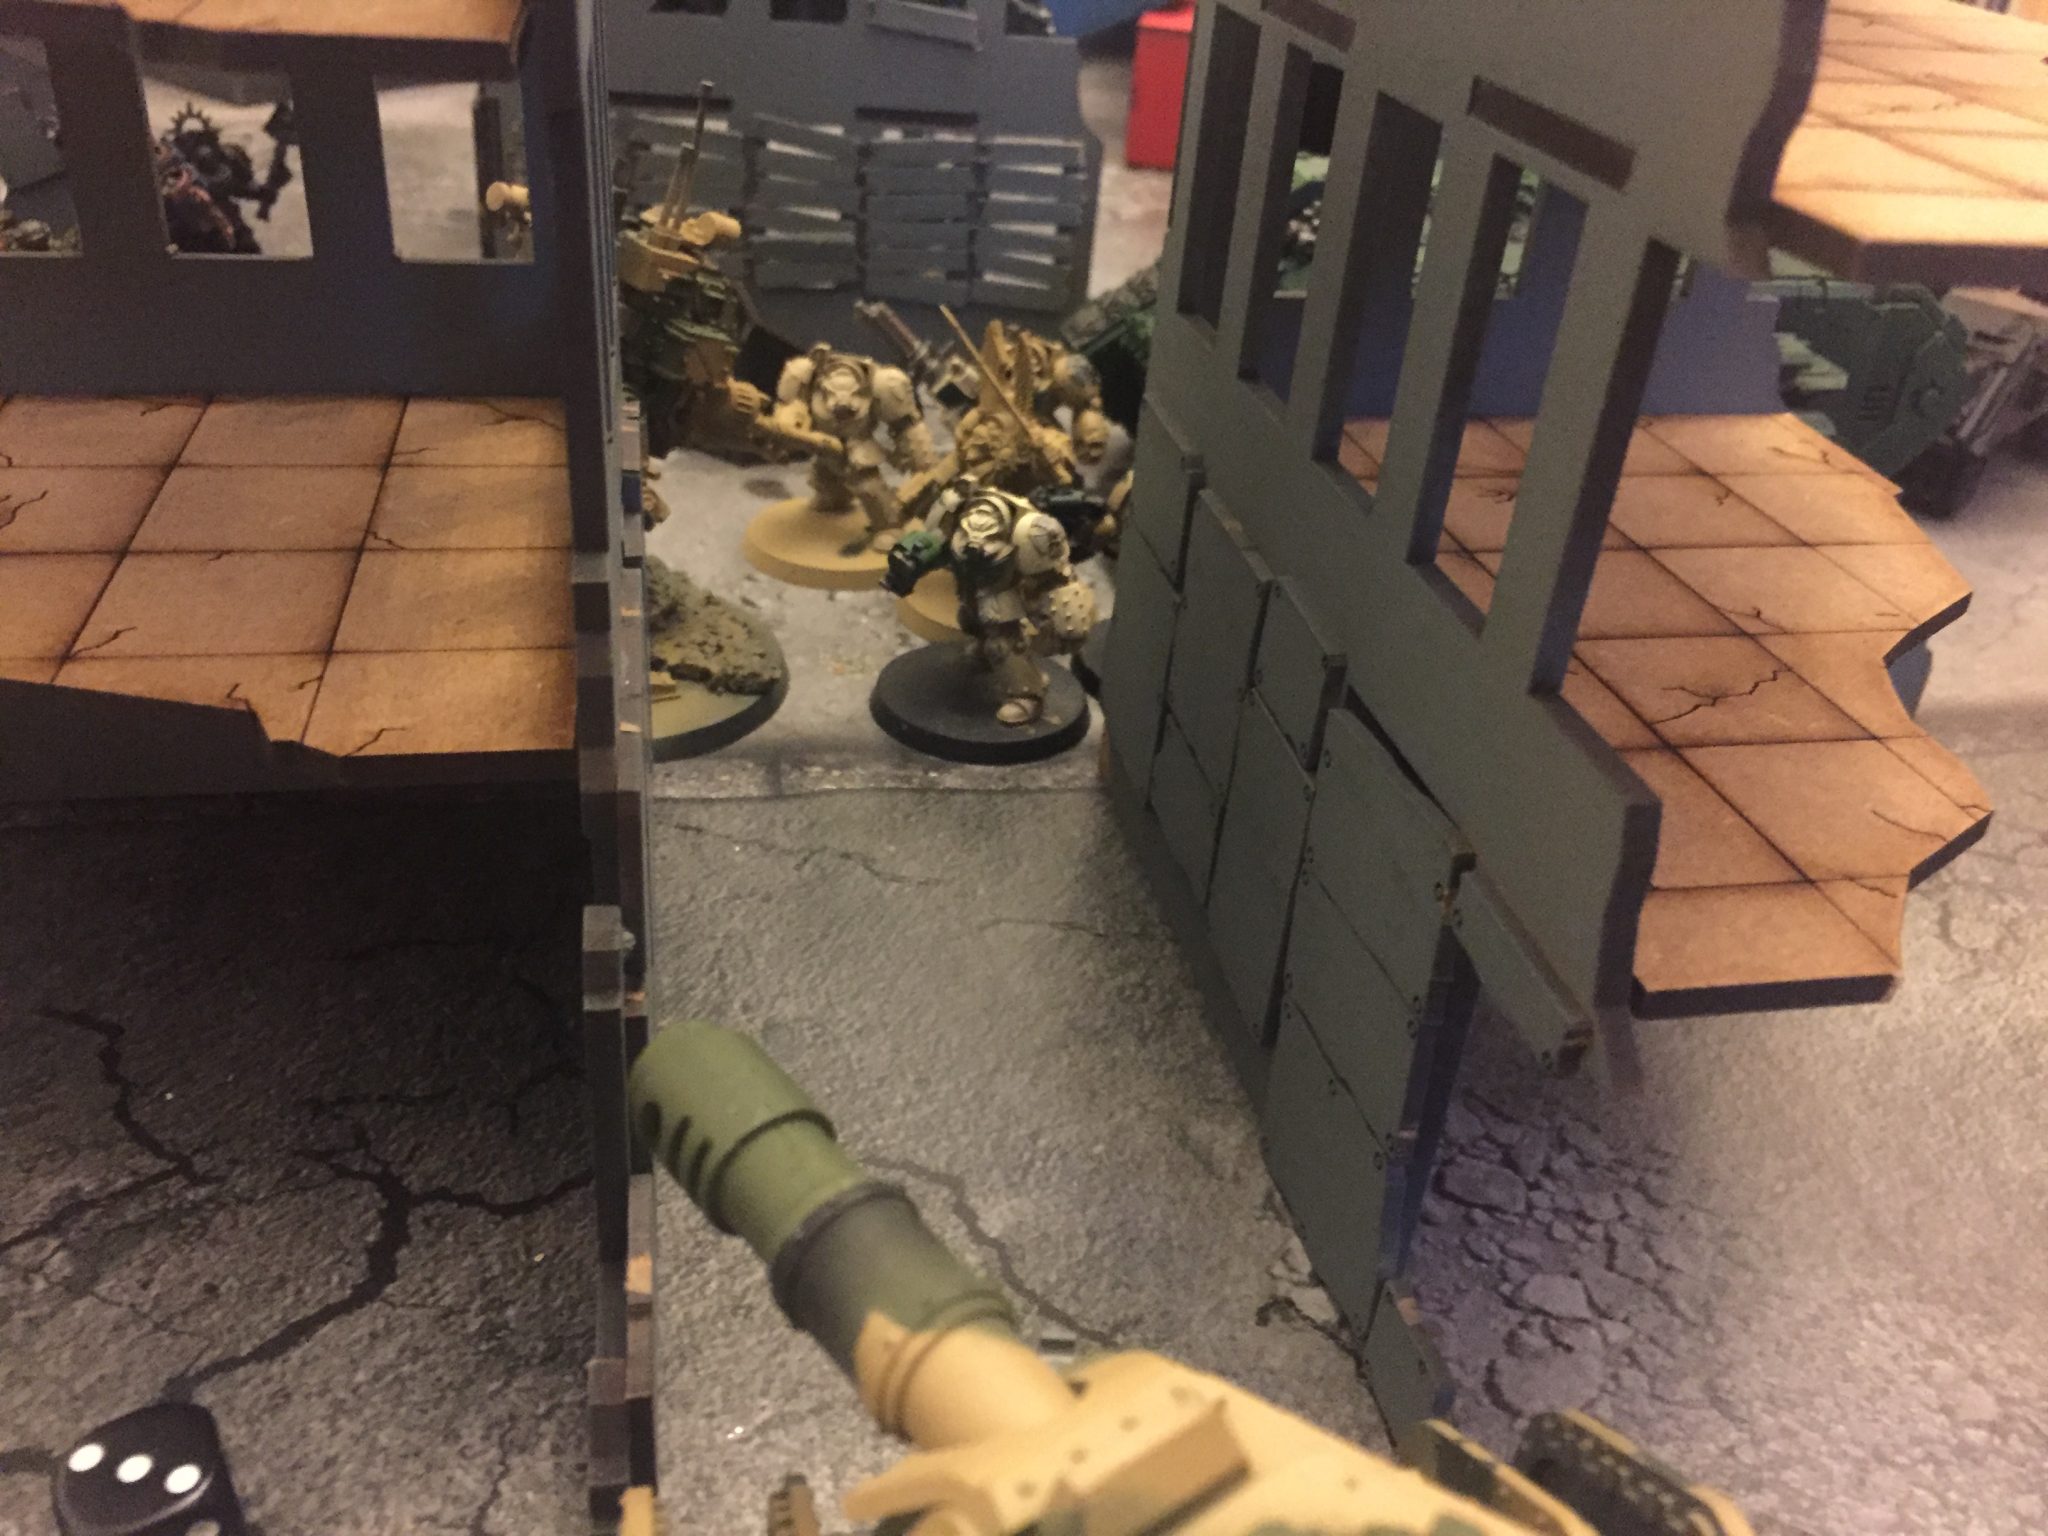
Deathwing Terminators get ready for some smash time!
Astra Militarum
My Leman Russ fall back from their positions and away from the Deathwing threats. They cannot shoot now. The Conscripts stay in Combat and the Priest moves up to stay close by. The Commissar moves in too to charge the Inceptors with his Power Fist and Plasma Pistol. My Chimera continues its flanking maneuver to take an objective.
Mean while the brave Chimera who is head to head with a Land Raider disembarks its Infantry Squad.
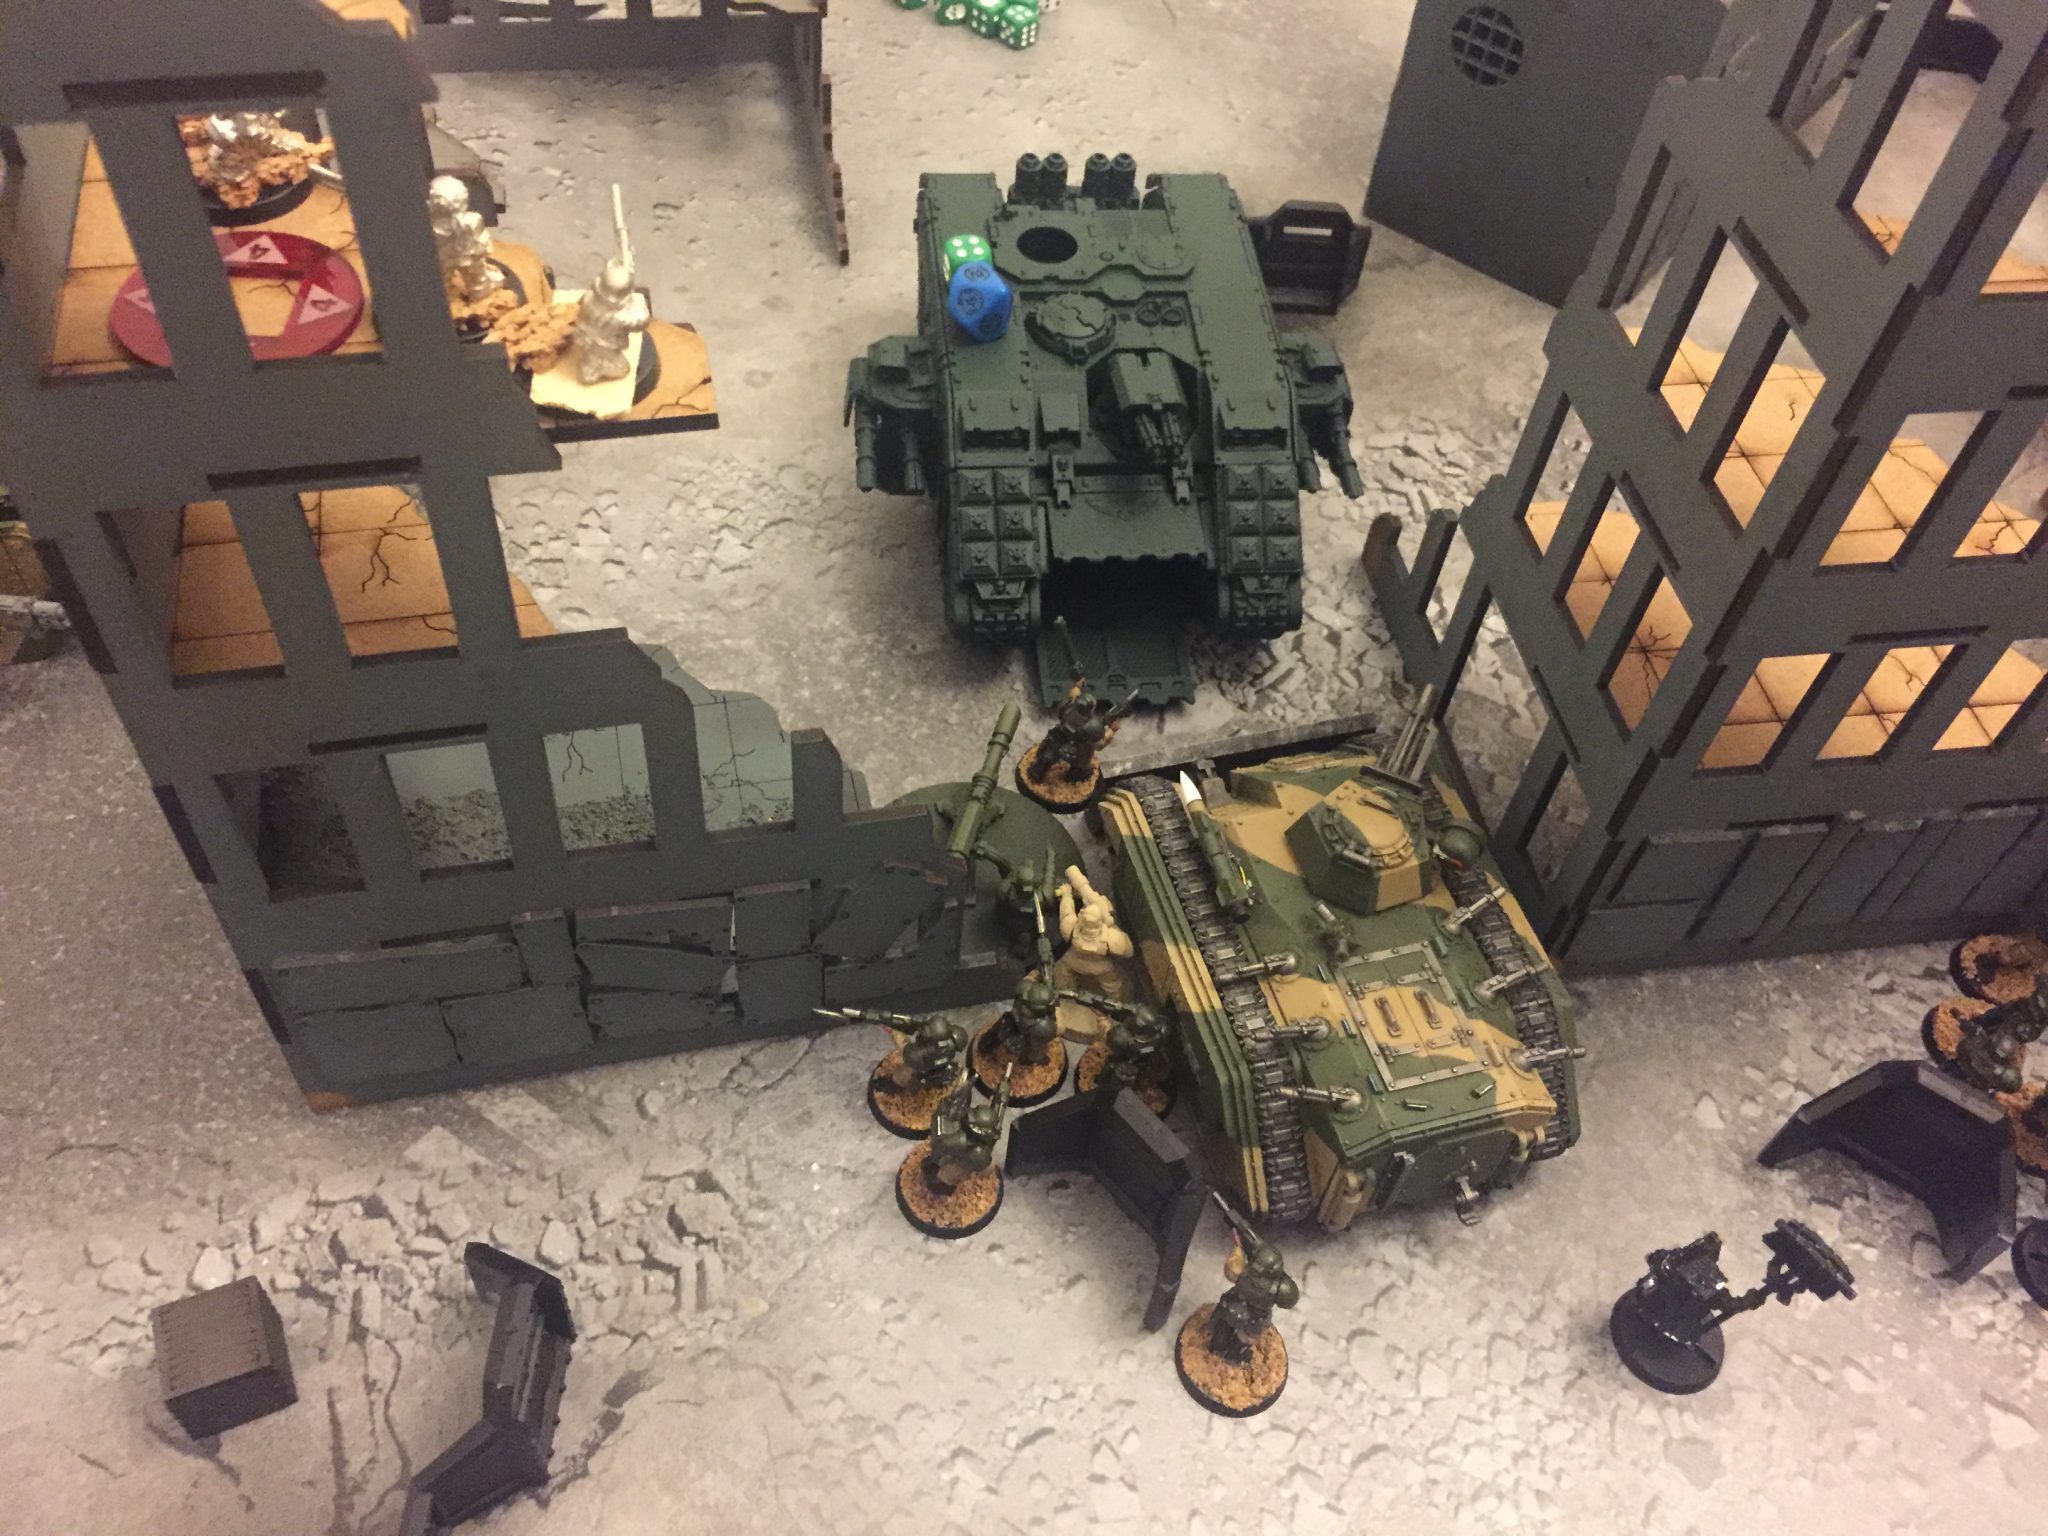
Chimera and Guardsmen prepare to charge!
Without my Leman Russ firing this turn my damage output is reduced. The Wyverns are able to now hit the Deathwing Terminators and cause a wound or two. They really did badly this turn. I am finding the Wyvern an odd unit now. It relies so heavily on the 2D6 roll for the hits. If that fails to be high and you get 4 shots you end up with 2 hits and 1 wound – which is then saved. Even the re-rolling of ones from the MoO does not really help in these instances.
The Ratlings whiff as they try and remove the final Deathwing Terminator.
The Lascannon with the Infantry Squad near Creed does some wounds to the Land Raider. Creed order’s his own unit (I mean the unit near him – its not his unit anymore) and the nearly disembarked Guardsmen at street level to re-roll ones to hit.
After pounding everything into the Land Raider near the Chimera it goes down to one wound. It takes the Chimera, the two Lascannons I have, Lasgun Array, Lasgun shots, Pask’s Lascannon, Pask’s Punisher and Pask’s Multi-Meltas. So. Durable. Argh! But its down to one wound now. The Chimera charges, survives, followed by the Guardsmen.
The Conscripts remain in combat and survive. The Commissar kills an Inceptor. The Guardsmen and Chimera fail to take the Land Raider’s single last wound. So. Durable. Argh!
Turn 2 Summary
I am now starting to see how movement works in 8th. How it is really key and that 8th is about openness and not about restrictions. This idea I first saw on Oakenhawk’s blog and in the comments – thanks Thor. 8th is no longer about;
randomness, you cannot move there, you cannot do that, oh gosh you want to what – roll a dice and see if you can – no you cannot.
Now you can move there. You want to move that Guardsmen 6″ from there to there via that ruin, yes please do it now. Instantly. No rolling, its done and it has happened for sure. With this in mind you can plan things a lot better it seems. You no longer have to have thought processes like this;
Well if I want to move back to this objective. I might make it in two turns, but I might not. Because I need to run twice which might be 1″ in total or it might be 6″ in total. I need to run too which might be 1″ and might be 6″. This gives me a possible move distance of between 1″ and 12″.
Now you can just get shit done. If it can move 6″ then it can move 6″. Done.
This became apparent in this turn when I moved my Chimera up to block the Land Raider and when moving my Leman Russ out of combat. It just happened. No randomness.
Turn 3
Dark Angels
Now things become grainy in my mind – but less is happening now as it gets later into the night and we try and start to grab objectives. As above regarding movement, grabbing objectives is easier now in the late game as you know more more accurately how far your units can move.
With the Land Raider Crusader still alive with one wound it pulls out of combat. The Deathwing Terminators give up on the Leman Russ and make for the flanking Chimera and its occupants. This is good. My Leman Russ can fire again! The single remaining Deathwing Knight also moves towards my Wyverns, Master of Ordnance and the objective they hold. This also frees up a Leman Russ for firing.
The Dark Angels are stalling now. Deathwing Knights are nearly gone, the Land Raider Crusader is hitting on 5+ now due to only having one wound. The Deathwing Terminators are now forced to move at speed across the board to catch my Chimera. The Intercessors are running out of viable targets because the grinding Conscript combat is still happening and Creed’s squad is in some hard 2+ cover.
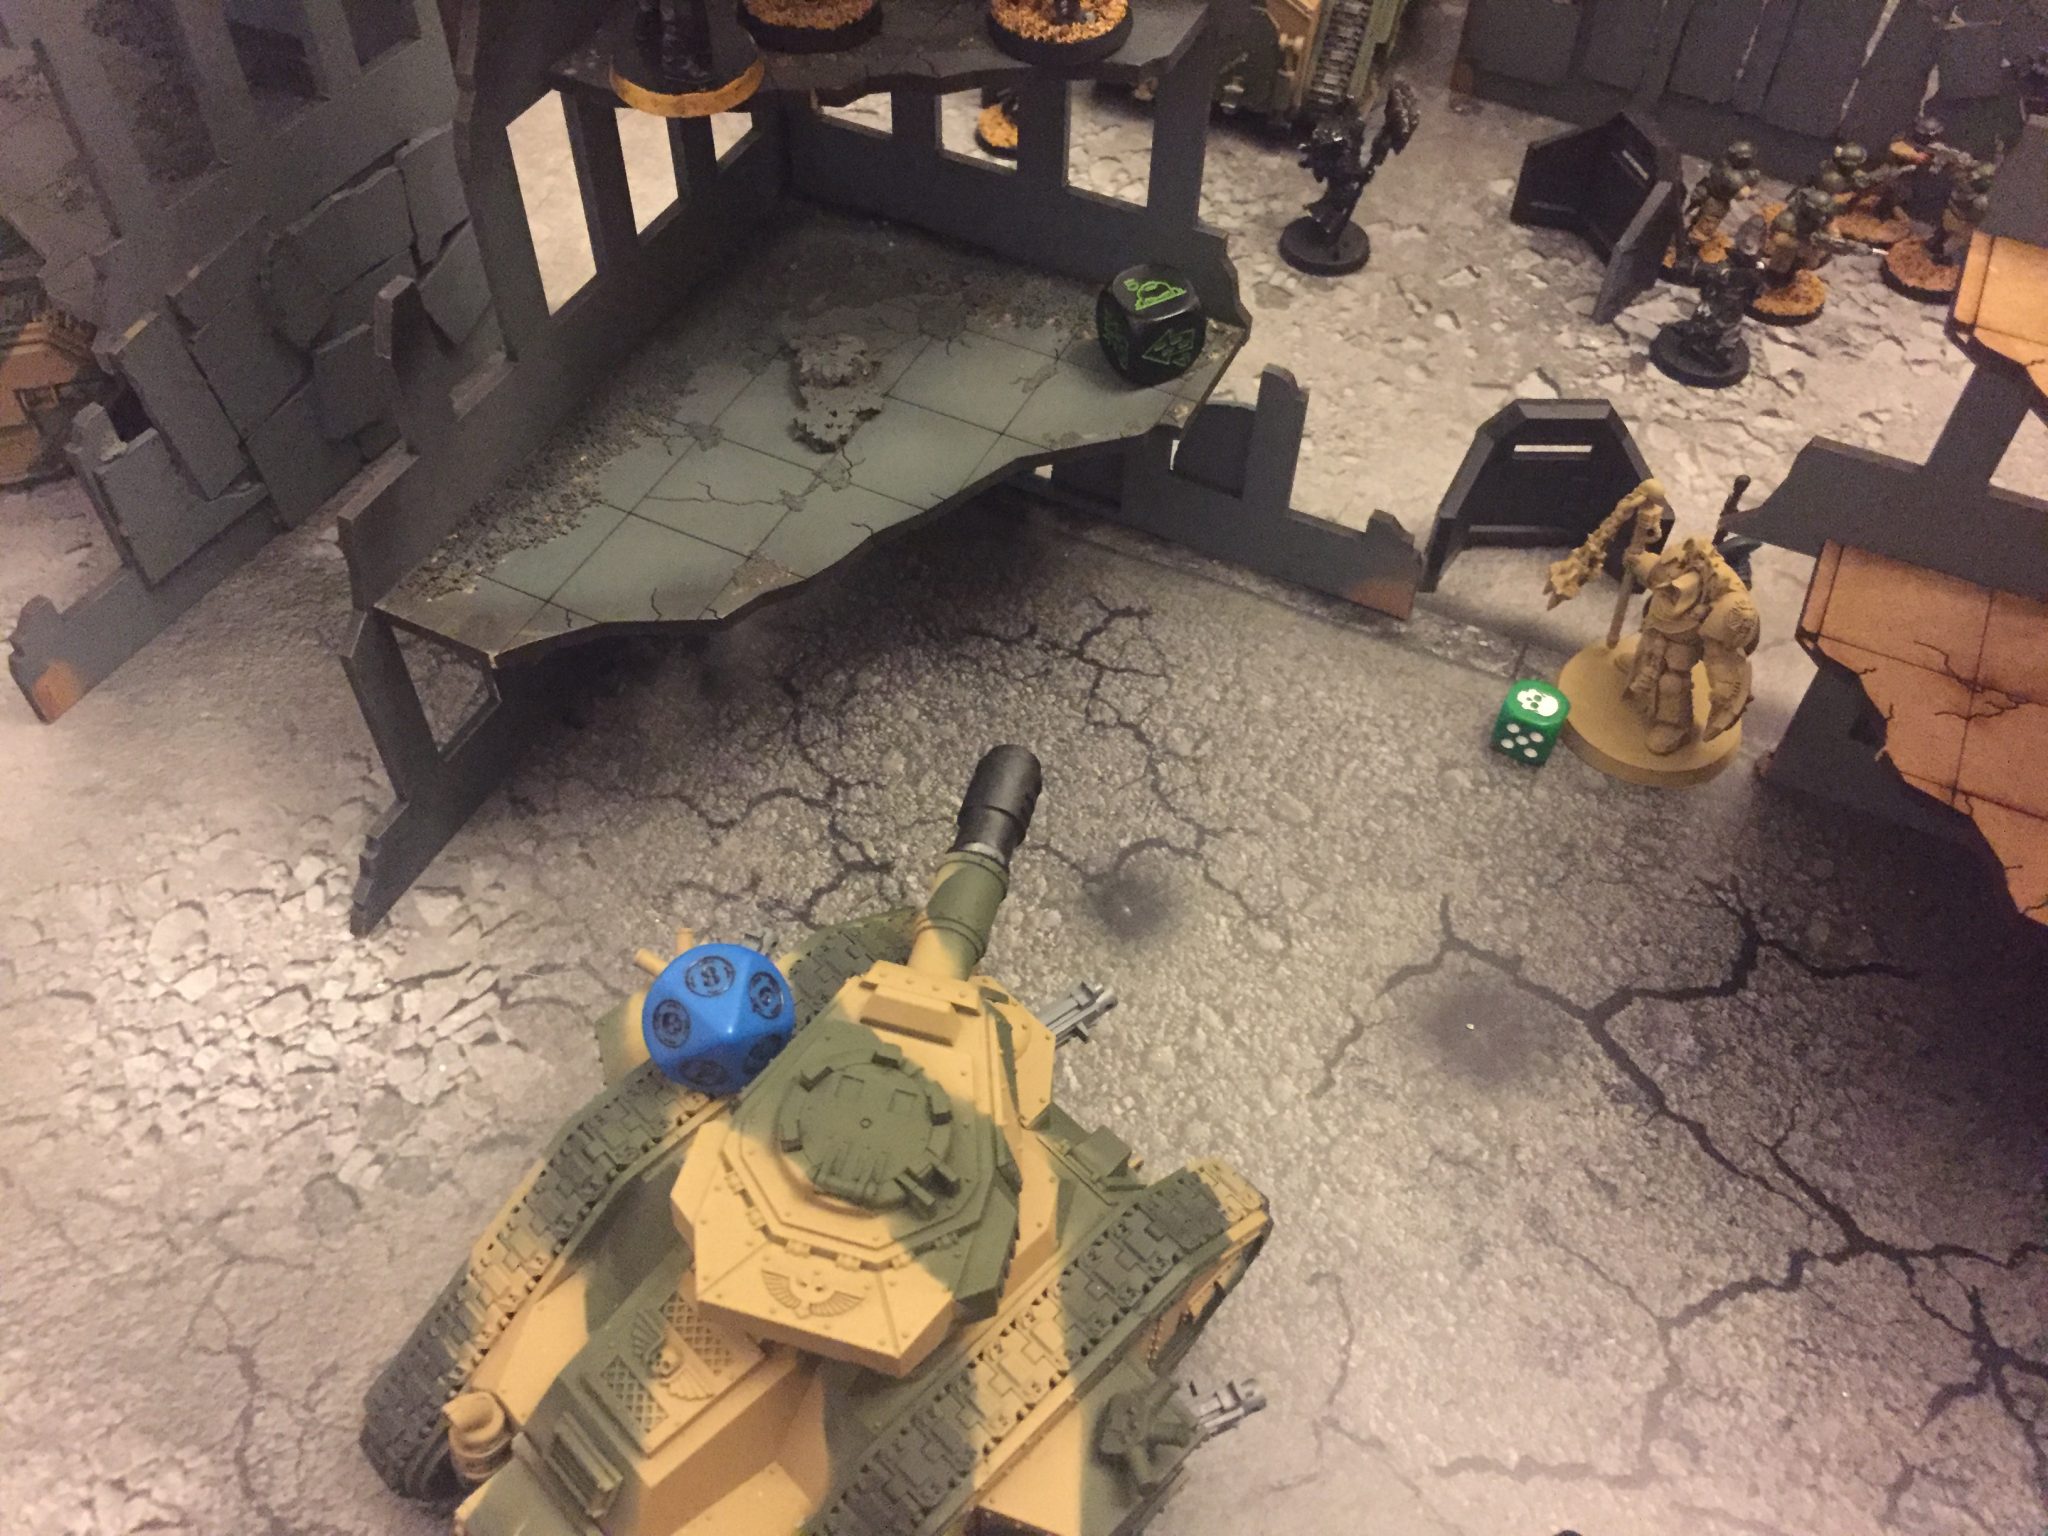
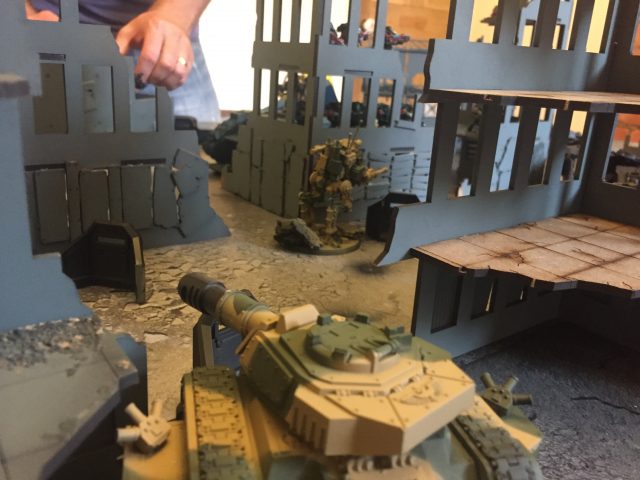
My Leman Russ that fell back from the Deathwing Knight
Astra Militarum
The flanking Chimera disembarks its cargo by an objective. Objective secured.
I am confident now of a win. The Dark Angels are stalling so I unleash everything at them to finish of their units. The Wyverns fail to do one wound on the one Deathwing Knight. So does a Leman Russ. Pask fails to do one wound on the Land Raider Crusader which has one wound left. The Lascannon Heavy Weapons Team also fails to take the last wound. That 2+ save makes all the difference here for the Land Raider. Even against a Multi-Melta it gets a 6+ save.
The Ratlings are down to just 3 men now and so do no damage for the rest of the game. Misses and saves ensure this. I love these guys though, I feel like that one day they do something spectacular and be elevated to a position above a Vindicare Assassin.
Chimera disembarks its troops to take this ruin with an objective on the top floor
Summary
We are both only now starting to think about objectives and moving towards them. Although the Chimera pictured above was moving towards this objective for the whole game. With the new none restrictive focus of the game it is now so much easier to move around as you want and need to.
We nearly stopped at this point, but my opponent wanted to try and win because I thought I had won easily. I had three objectives, he had one. We continued for two more turns.
Turns 4 & 5
Dark Angels
The Chaplain and remaining Inceptor (which broke away from the Conscripts) move right back into the Dark Angels deployment zone to grab two different objectives. This is what I mean about movement, its now just so easy.
The Intercessors just stayed put and finished off the Squad that Creed had been with. Creed was now safe as the Dark Angels had no Snipers and no way of moving to make Creed the closest enemy model. The Intercessors had sat on the same objective all game in the centre of the board. Azrael finally moved out and into another ruin to further bolster the Intercessors who were holding the objective. This was the furthest Azrael moved all game.
The Dark Angels destroyed my Guardsmen and Chimera on the right flank that had moved up to take an objective. The Deathwing Terminators ensured their fate and then took over their objective.
Astra Militarum
I finished off the Land Raider with the single wound left! But failed to kill the Chaplain or Inceptor that had taken objectives. The Intercessors with a +2 bonus due to cover and Azrael were impossible to shift. My forces had lost an objective to the Deathwing Terminators too as mentioned above.
I was now unable to move out and take the objectives that the Dark Angels had fallen back to take. Nothing of mine could not see the Inceptor and the Wyverns were out of range of him. I did finish off the Deathwing Knight though that had moved into the ruin near the Wyverns.
Creed was all but useless in this late game as I had no Vox-Casters left anywhere to increase his order range.
My three Leman Russ, Wyverns and a Chimera all survived the game. The Wyverns did not get shot at once. They just sat in the back out of sight and slammed down shells. The Leman Russ were durable, more so than against the Necrons. I am a bit disappointed that they have the same 3+ save that a Chimera, Wyvern and Sentinel has! Granted they are T8, like a Land Raider. But the 2+ save is so much better.
8th Edition Battle Report Summary
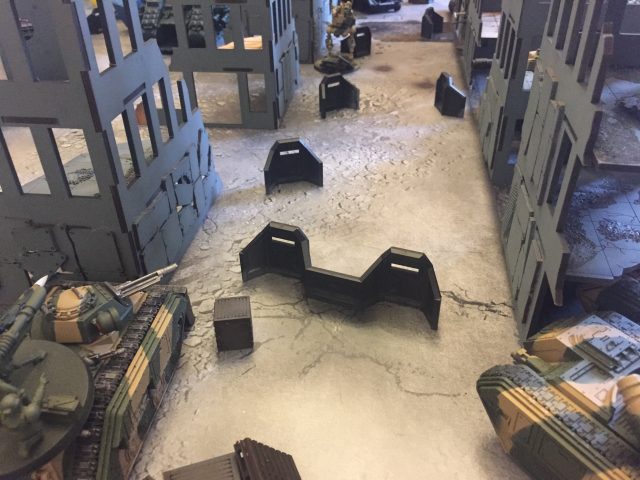
The below photo shows the final table, mostly. The red circles are the enemy held objectives – four in total:
- Top left, single Inceptor
- Top right, Chaplain
- Middle right, Azrael and Intercessors
- Bottom right, Deathwing Terminators (off screen)
The blue circles are my held objectives – two in total:
- Top left, Ratlings
- Bottom left, Wyverns and Master of Ordnance

Final Table Overview – 8th Edition Battle Report
And that is that, my first 8th Edition Battle Report!
What did you think?